I worked on Redfall for 4.5 years, including the last 2 years as Lead Technical Artist.
While my responsibilities covered a wide range of areas, some examples include:
• Spline based editor tools
• Performance optimization (CPU, GPU, Memory)
• Custom Houdini material baker for level LODs
• Spline based hazard volumes
• Terrain materials
• Optimizing texture packing across all materials
• Foliage imposter baker in UE4 editor
• Lighting systems (shadows, probes, time of day)
• Outline highlight system
Spline Tools
Roughly 50% of all world building was done using the spline toolset, which included a suite of tools for placing everything from roads and power lines to entire buildings.
Initially only roads were placed with a marketplace asset but it suffered from a lack of customization and bad performance. A new C++ based tool was developed, and all existing world-building data was migrated over to the workflow.
This formed the base for what became a whole set of different spline based tools used for building Redfall's world.
Purple highlight shows areas of level built with the spline toolset.
Mesh Spline
In its simplest form the tool placed meshes along a spline, but with a wide range of customization options. This was used for roads, guardrails, fences, utility poles, cliff sides etc.
Spline Decorators
Several decorators could be added to the main spline, automatically generating sub-splines on specific sections. For example, sidewalks, guard rails and road markings could follow roads, while dynamic cables could be attached to powerlines.
Spline Patch
Implemented constrained Delaunay triangulation to fill the interior area of a closed spline. This could either be placed as its own actor to form building foundations or could be automatically placed as part of building rooftops.
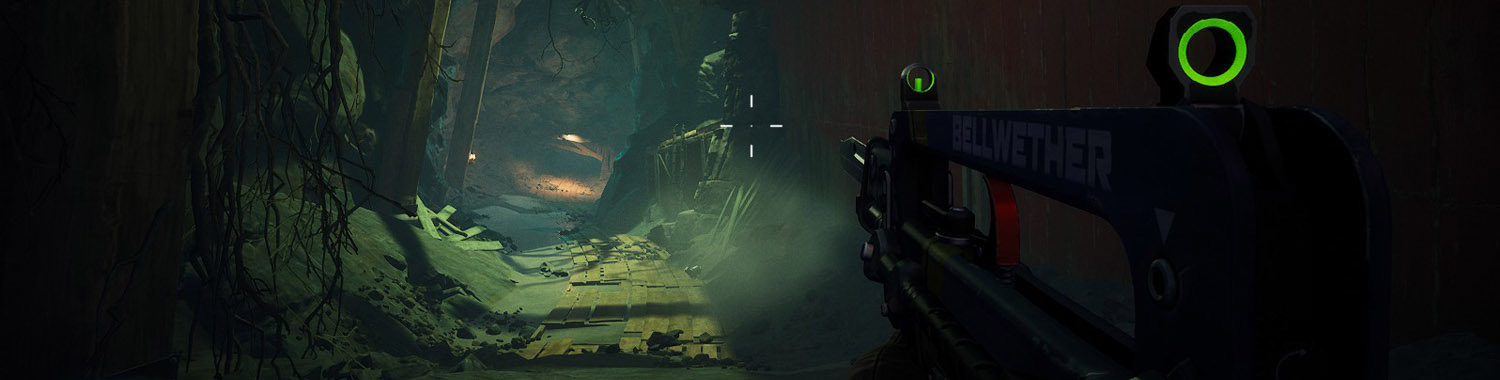
Examples of tool usage throughout psychic nest levels.
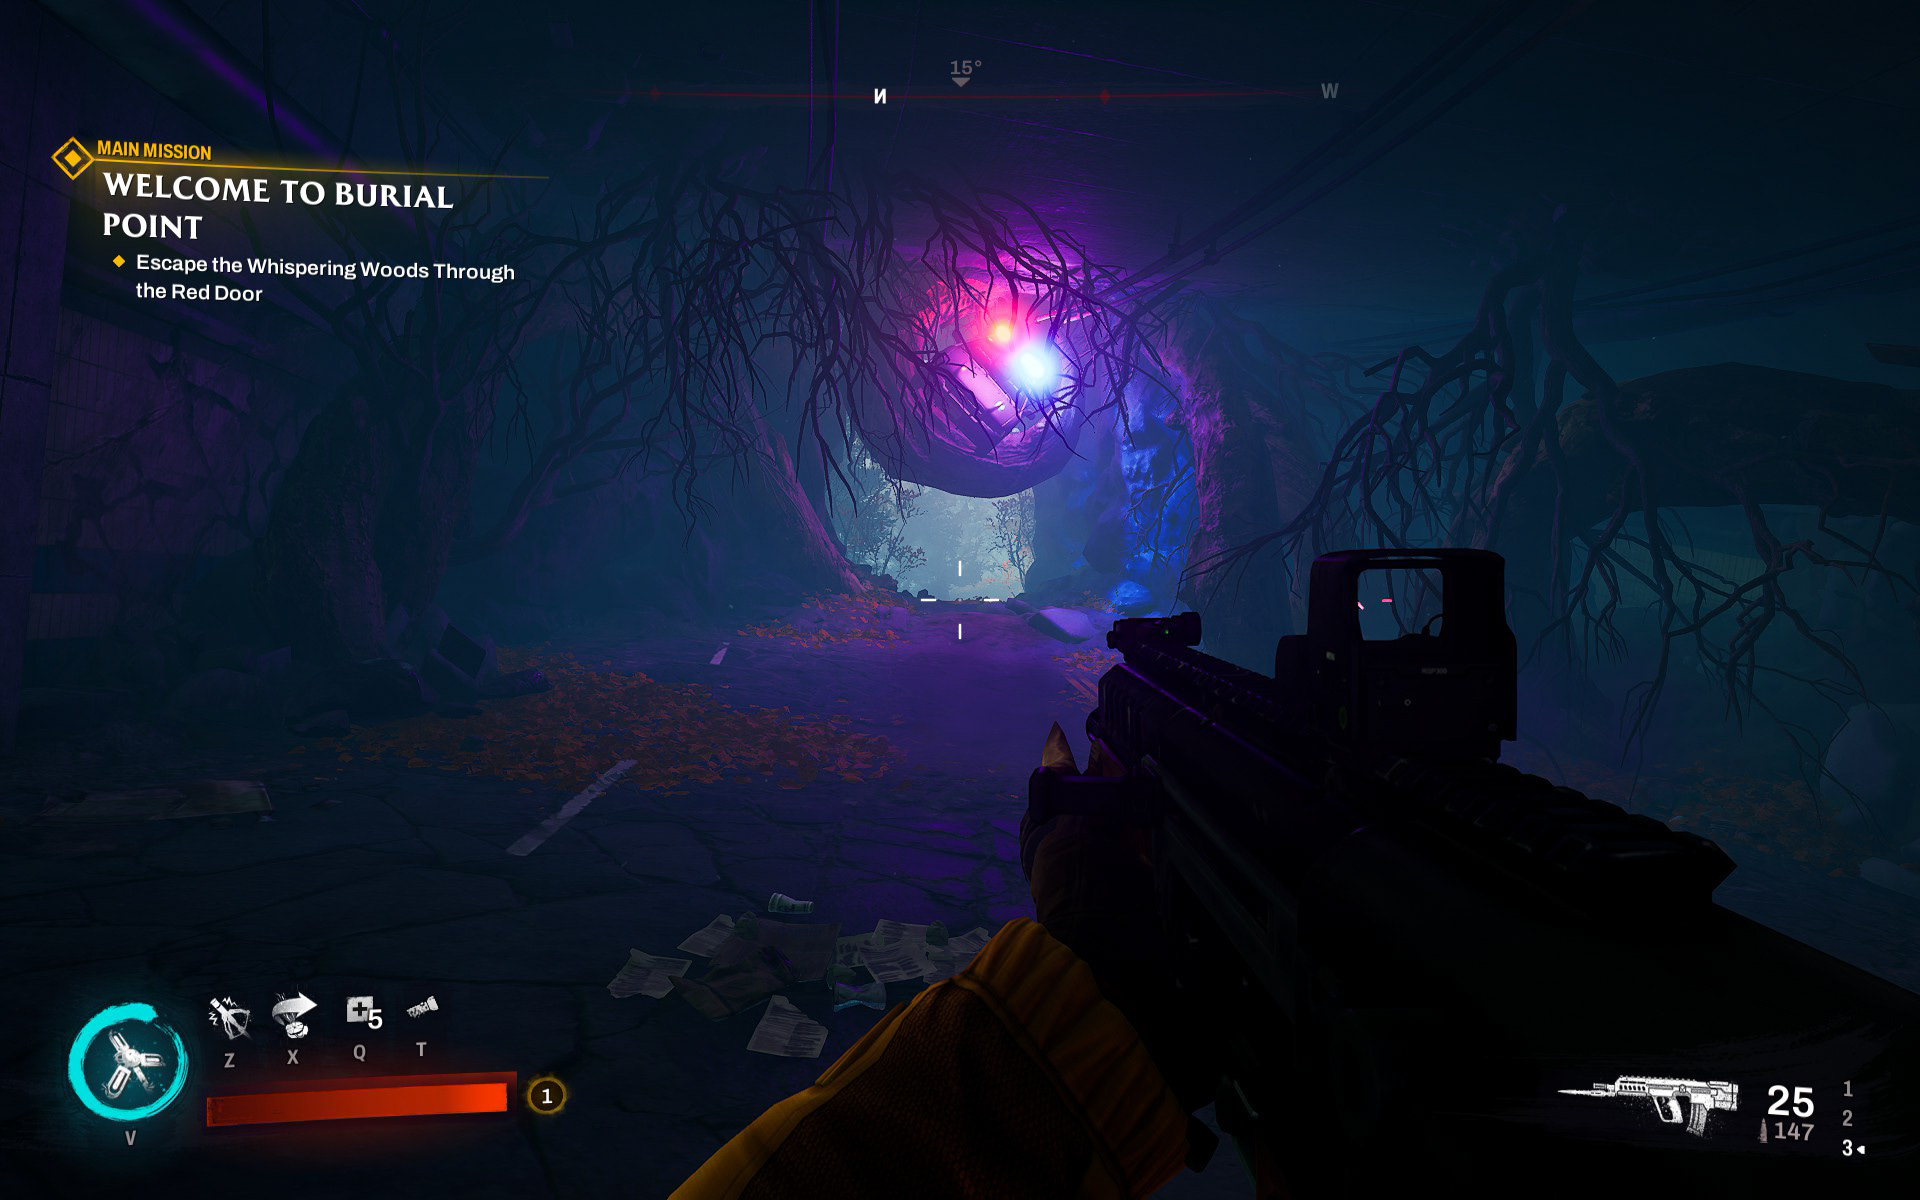
Examples of tool usage throughout psychic nest levels.
Examples of tool usage throughout psychic nest levels.
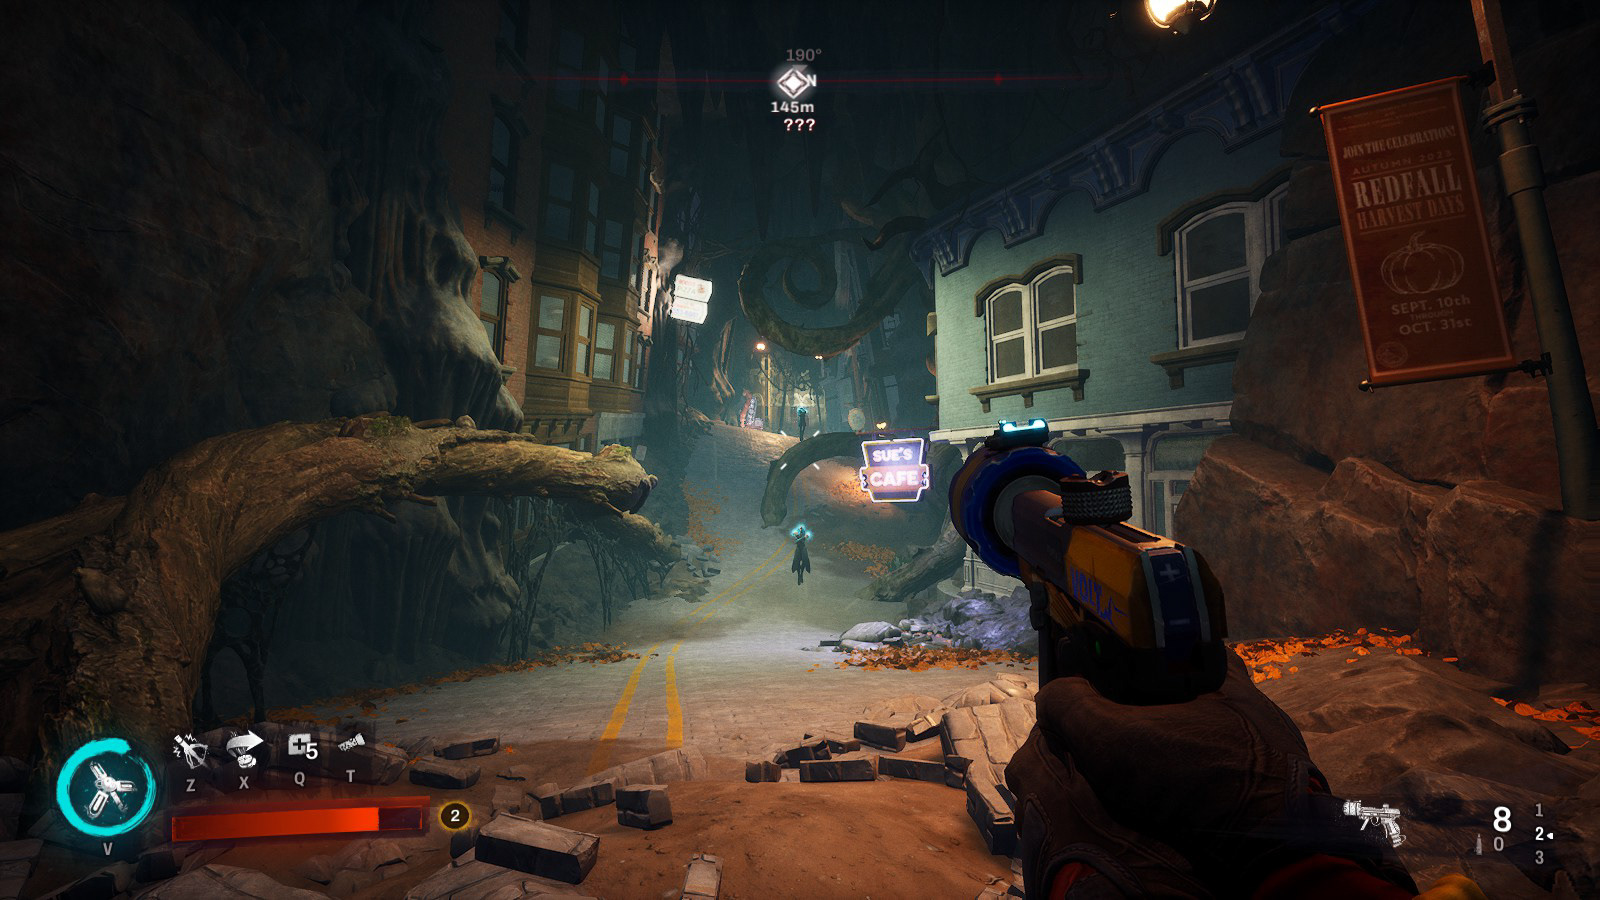
Examples of tool usage throughout psychic nest levels.
Examples of tool usage throughout psychic nest levels.
Spline Utilities
A range of utility functions were available to ease the work with splines. Examples include snapping of splines and tangents, conforming terrain to a spline and adding mesh overrides to sub-sections of a spline.
Automated baking of spline meshes.
A nightly build job converted all spline meshes into their own static meshes as needed. This included automatic re-baking when artist updates occurred
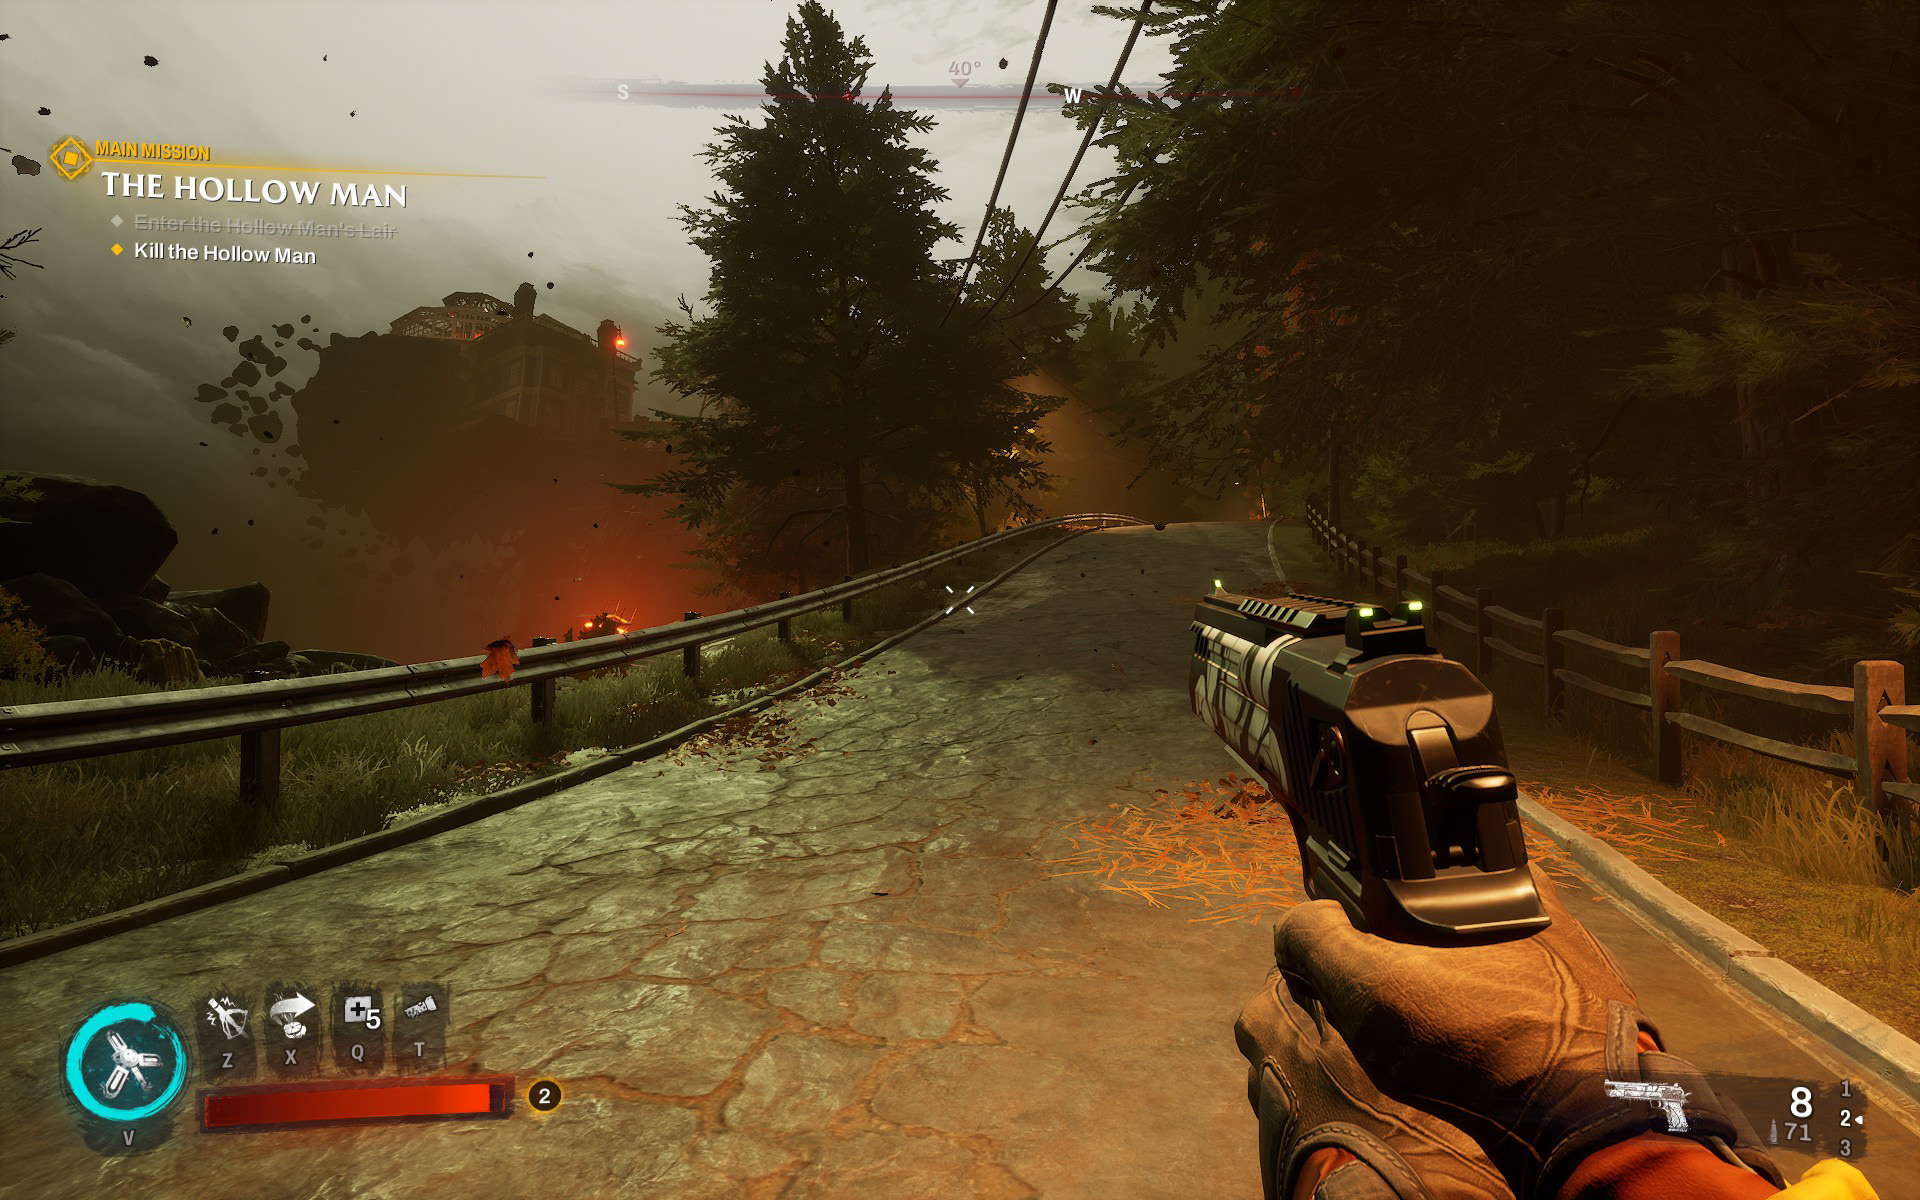
Cliffs, roads and retaining walls built out of splines in the more rural areas.
Spline Buildings
Buildings were a mix between hand modeled in Maya vs built out of splines in the world. In general, a significant portion of non-hero buildings was constructed using spline-based workflows.
The tool automatically placed building kit pieces, inserted stretch meshes, added lattice deformers to building corners and filled in the rooftop.
Many buildings, roads, powerlines, foundation pieces and props were placed with the spline toolset.
Building corners
For corners artists modeled kit pieces to match 90, 190, 270 degree corner angles. The a lattice took over to bend the mesh the rest of the way into the correct position.
Texture Coordinates
Texture coordinates were scaled independently of the placed kit pieces and stretch mesh inserts. This assured seamless tiling across models and no visible stretching of textures.
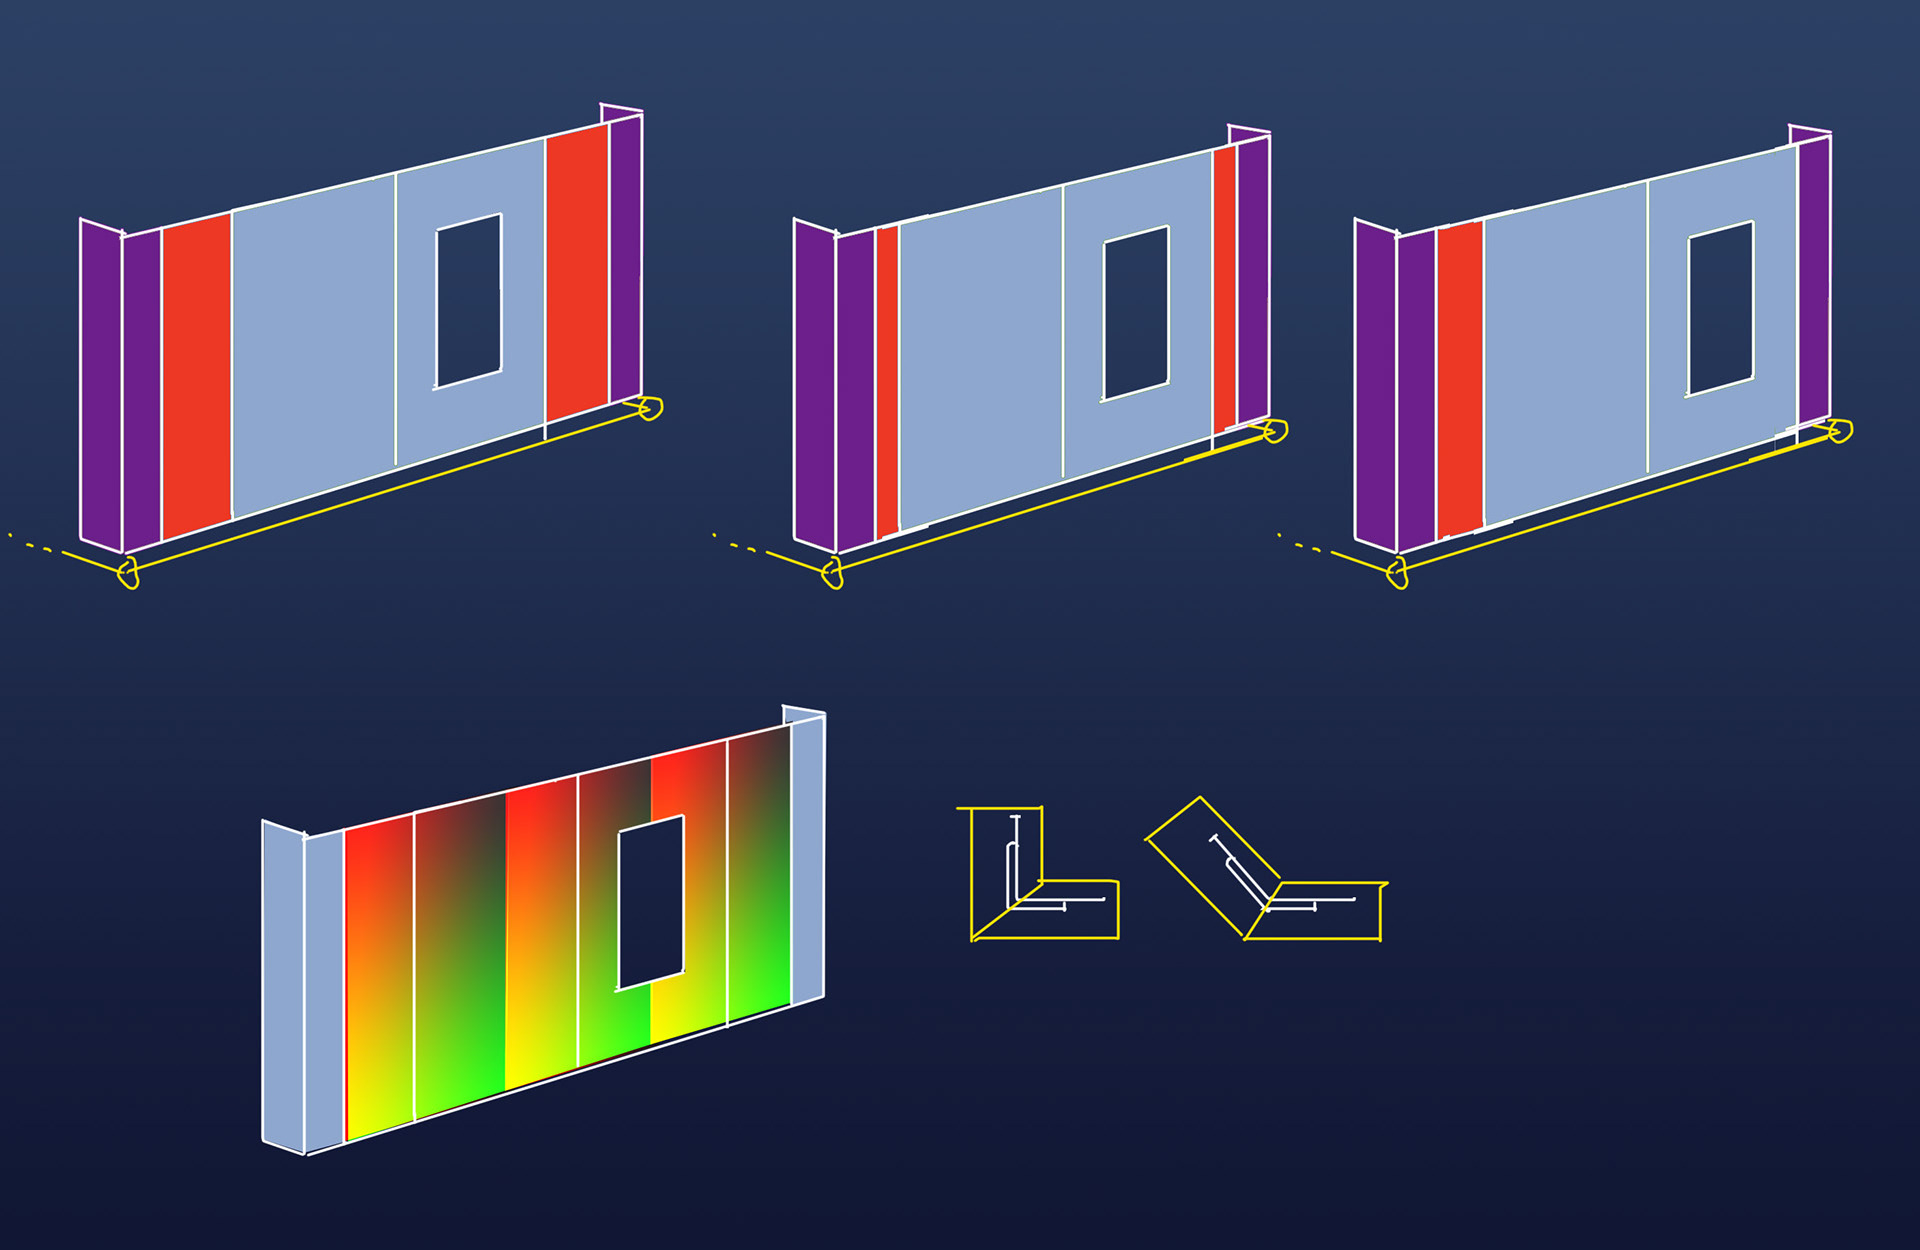
BLUE: Kit pieces RED: Stretch meshes PURPLE: Lattice deformed corners
Texture Coordinate tiling across meshes. Corner lattice top view.
Performance Optimization
A major aspect of the work was ensuring the game ran at 60 FPS on all platforms while also fitting within memory constraints. This involved extensive profiling using PIX, RenderDoc, and Unreal’s built-in profiling tools. Depending on the nature of the bottlenecks, they were either addressed directly when possible or resolved in collaboration with the affected teams.
Guidelines were created for the art teams on how to structure their models and textures to work best for Unreal (LODs, mesh distance fields). Identifying VFX issues had to be done more on a case by case basis due to the more complex nature of VFX systems.
Many of the identified core engine issues were fixed in collaboration with the engineering team, e.g. scheduling work earlier in the frame to avoid long stalls or balancing multithreaded work better across worker threads.
At the end, the game was able to run at 60 fps on all platforms.
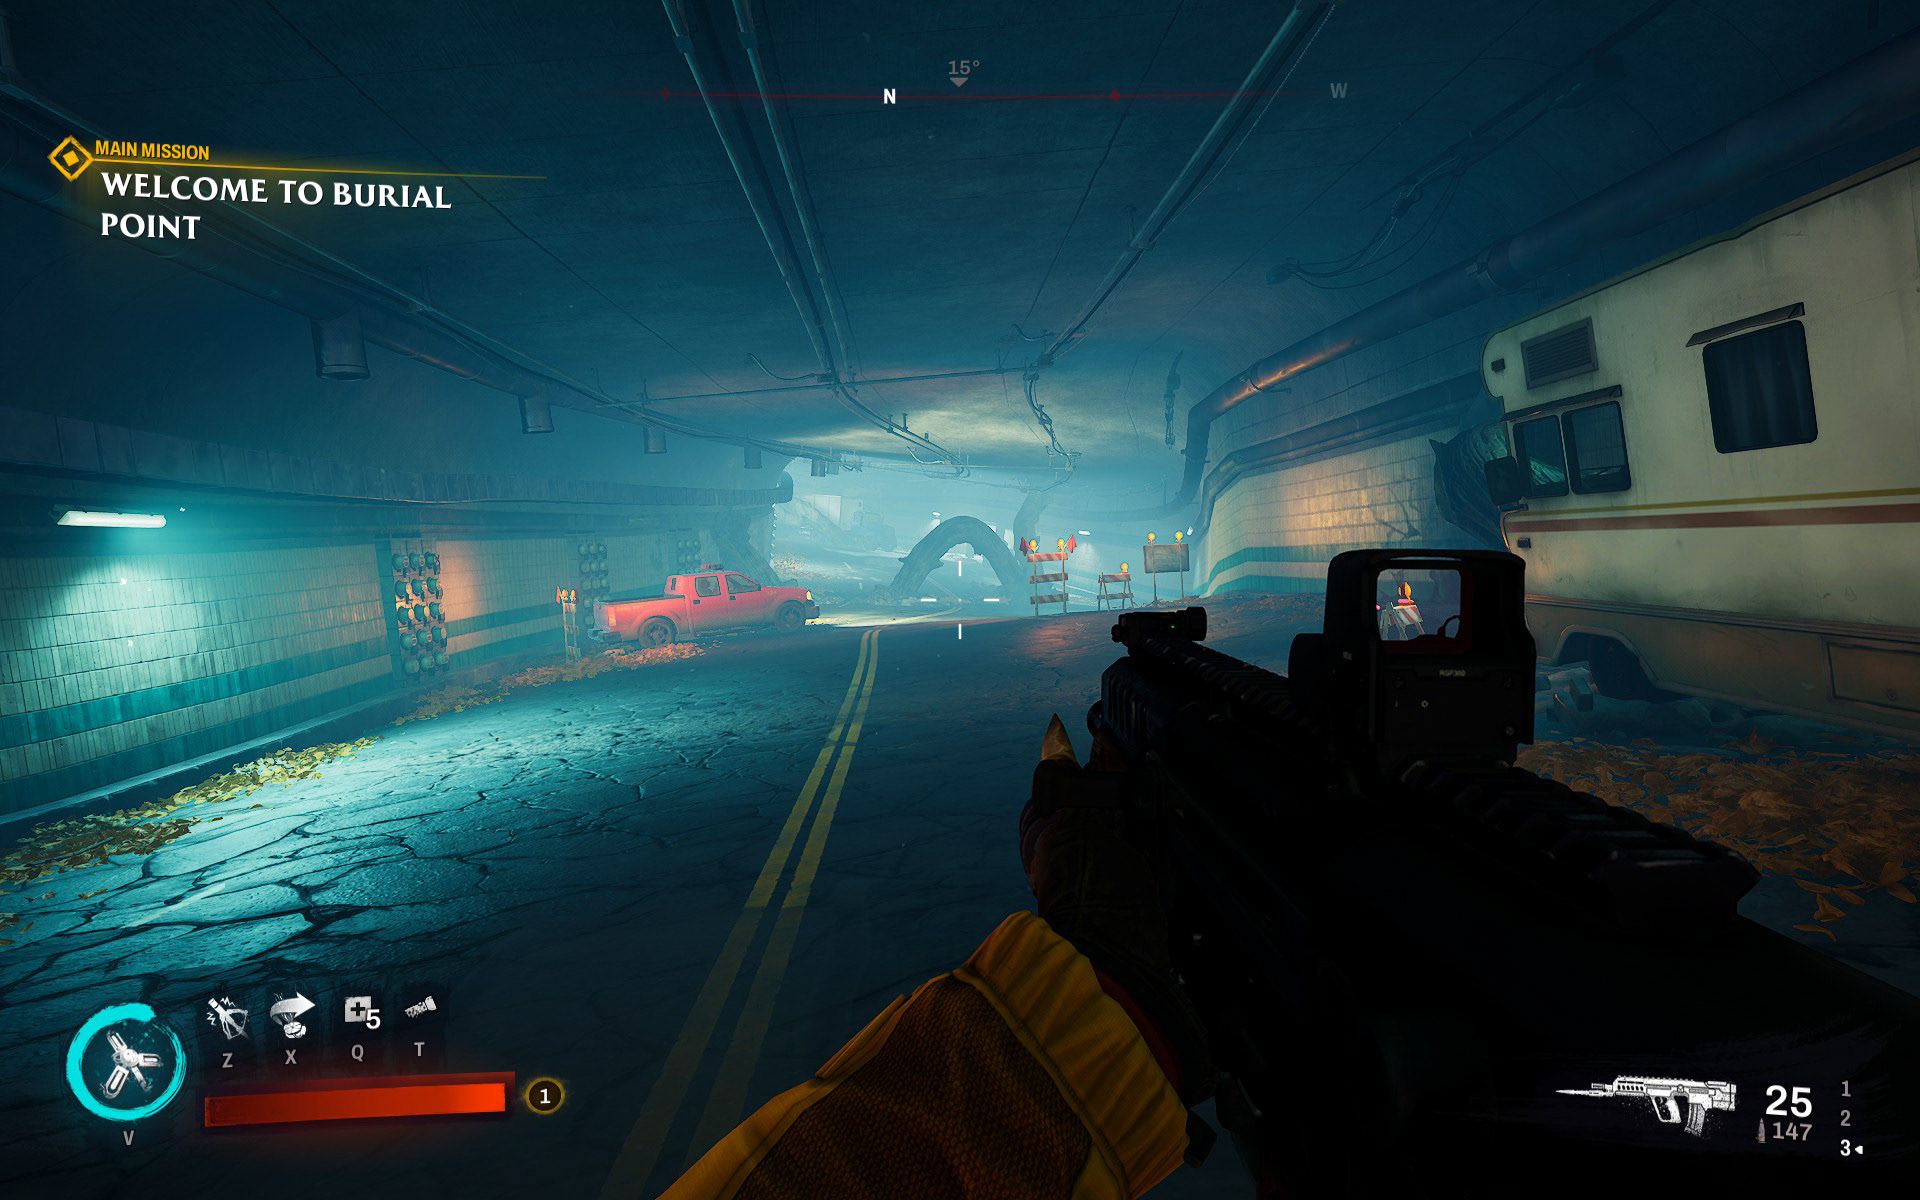
Waterline and Terrain Blending
I handled all the base setups for landscape materials, including the material to blend all texture channels with the landscape - as well as bending of the normals to make the transition seamless.
For the drained ocean, a special waterline material was used which read from a global volume on where to place the visible waterlines in the material.
Instead of using Unreal’s decal system, we leveraged Unreal’s RVT system to render quads directly into the landscape virtual texture without requiring additional render passes. This approach allowed us to add a large number of decals with minimal performance impact.
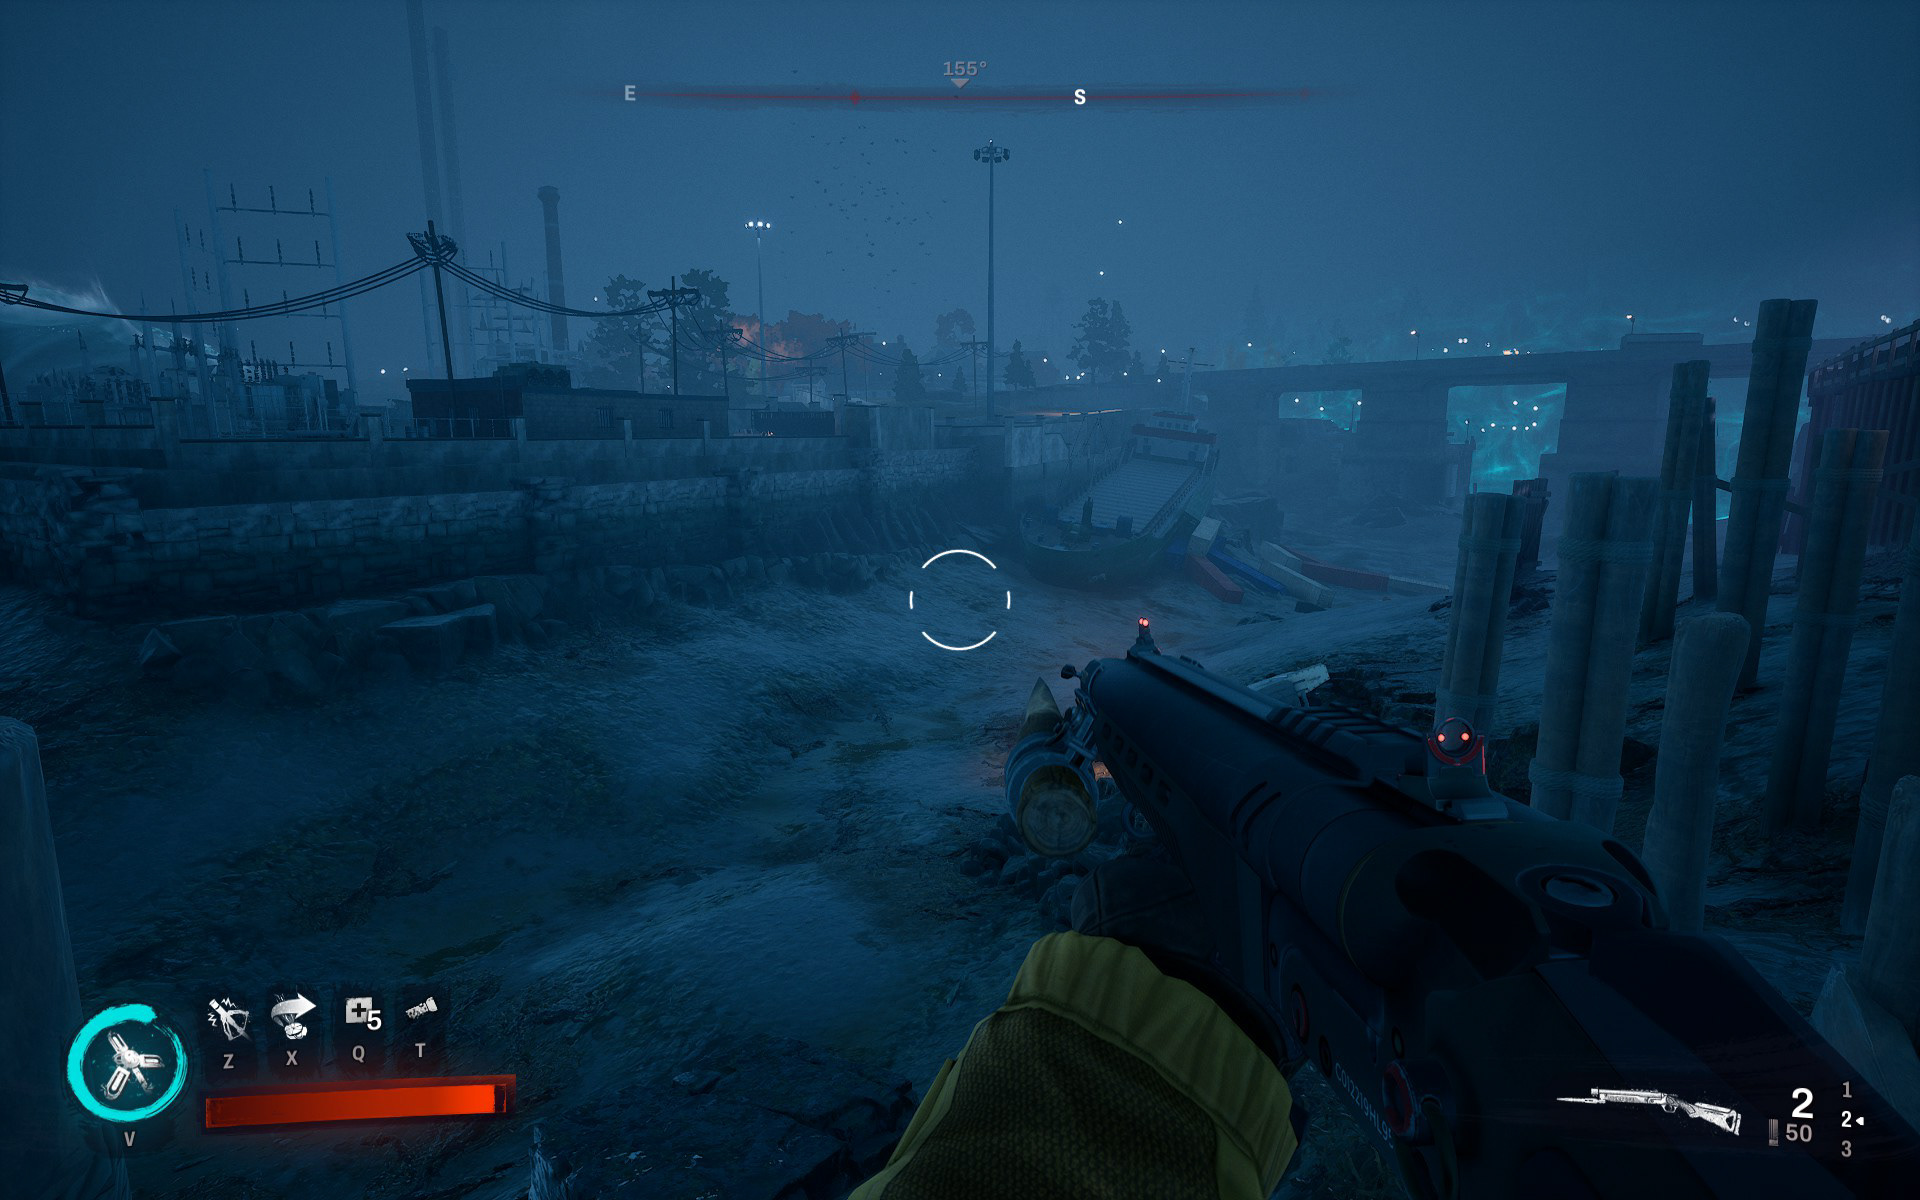
Waterline and landscape blending.
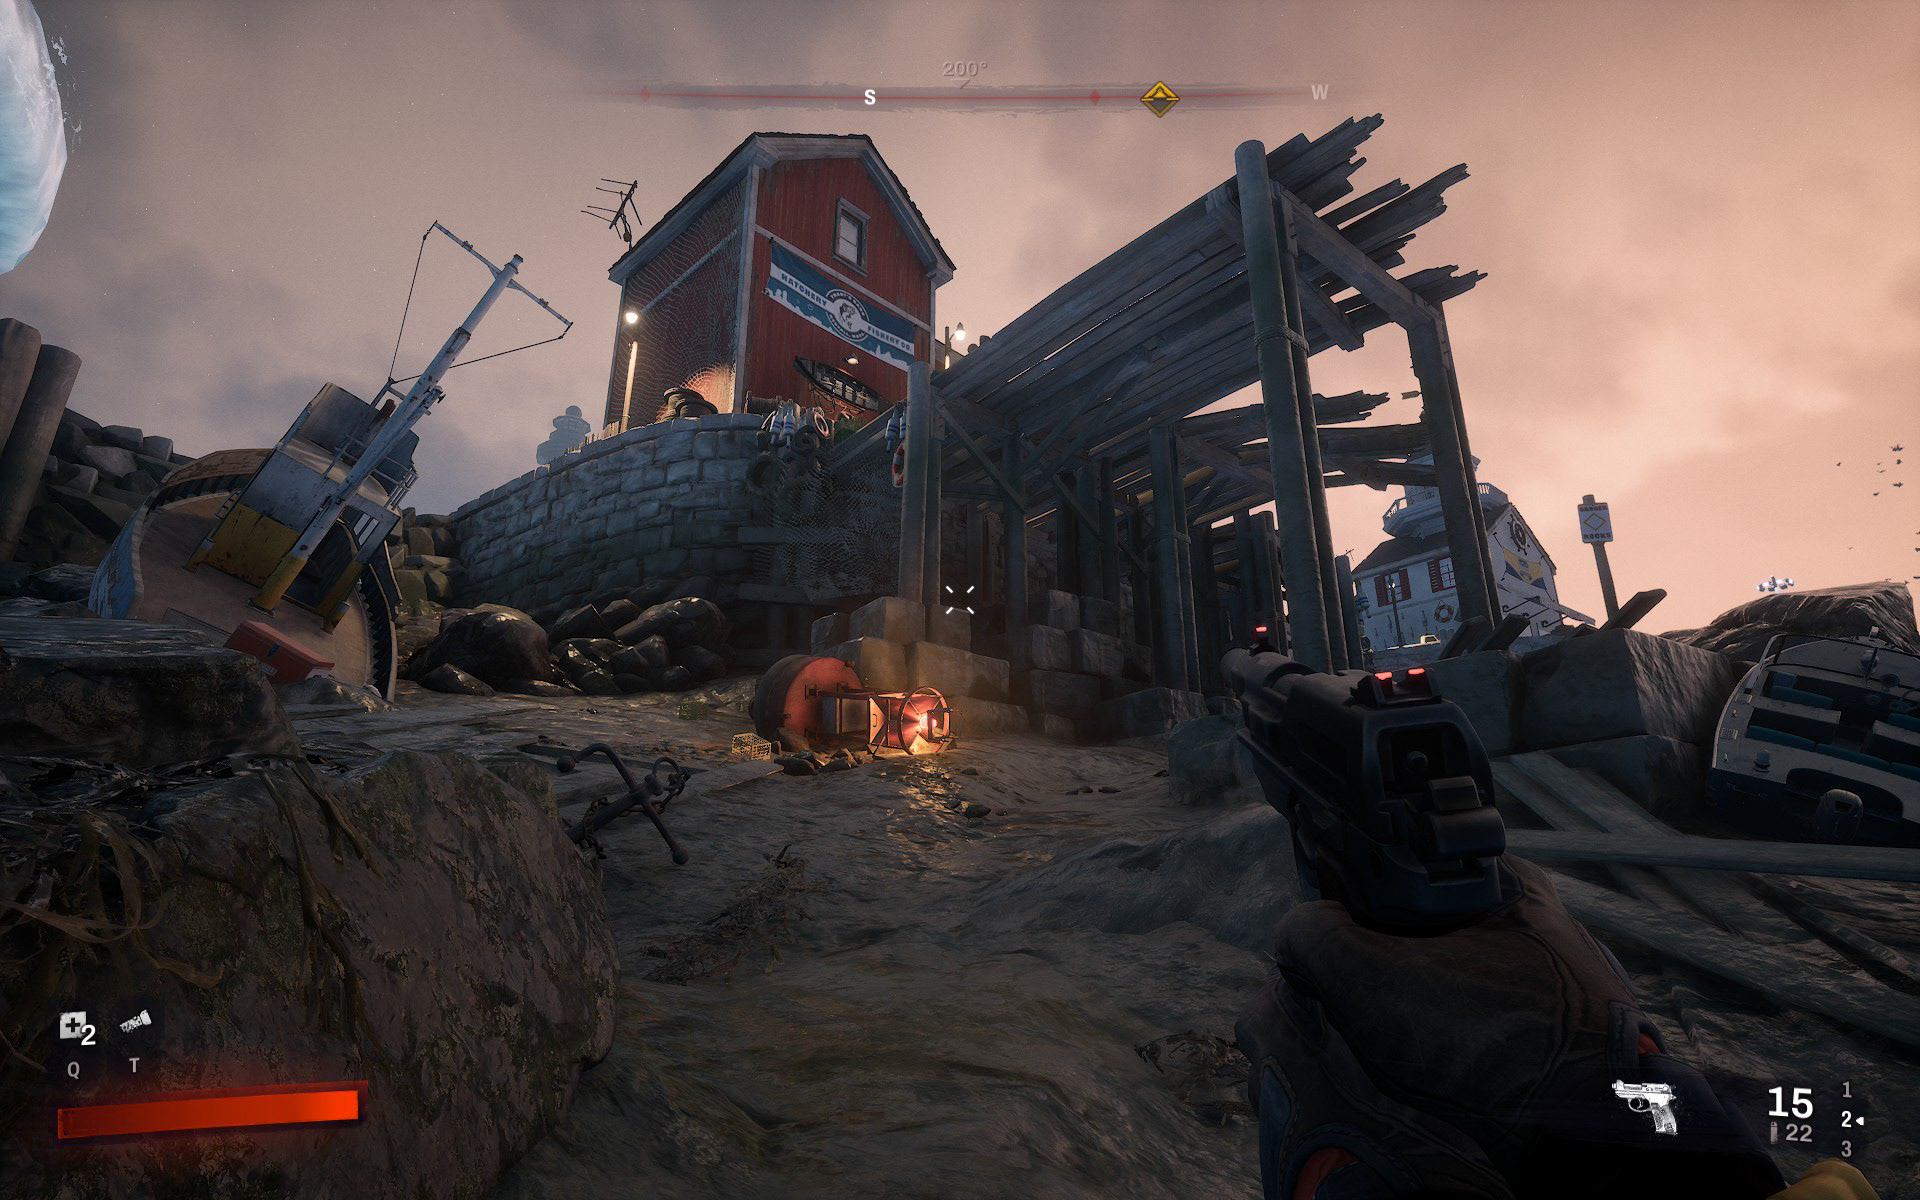
Landscape blending on foreground meshes. Waterline shader on the pier and dock walls.
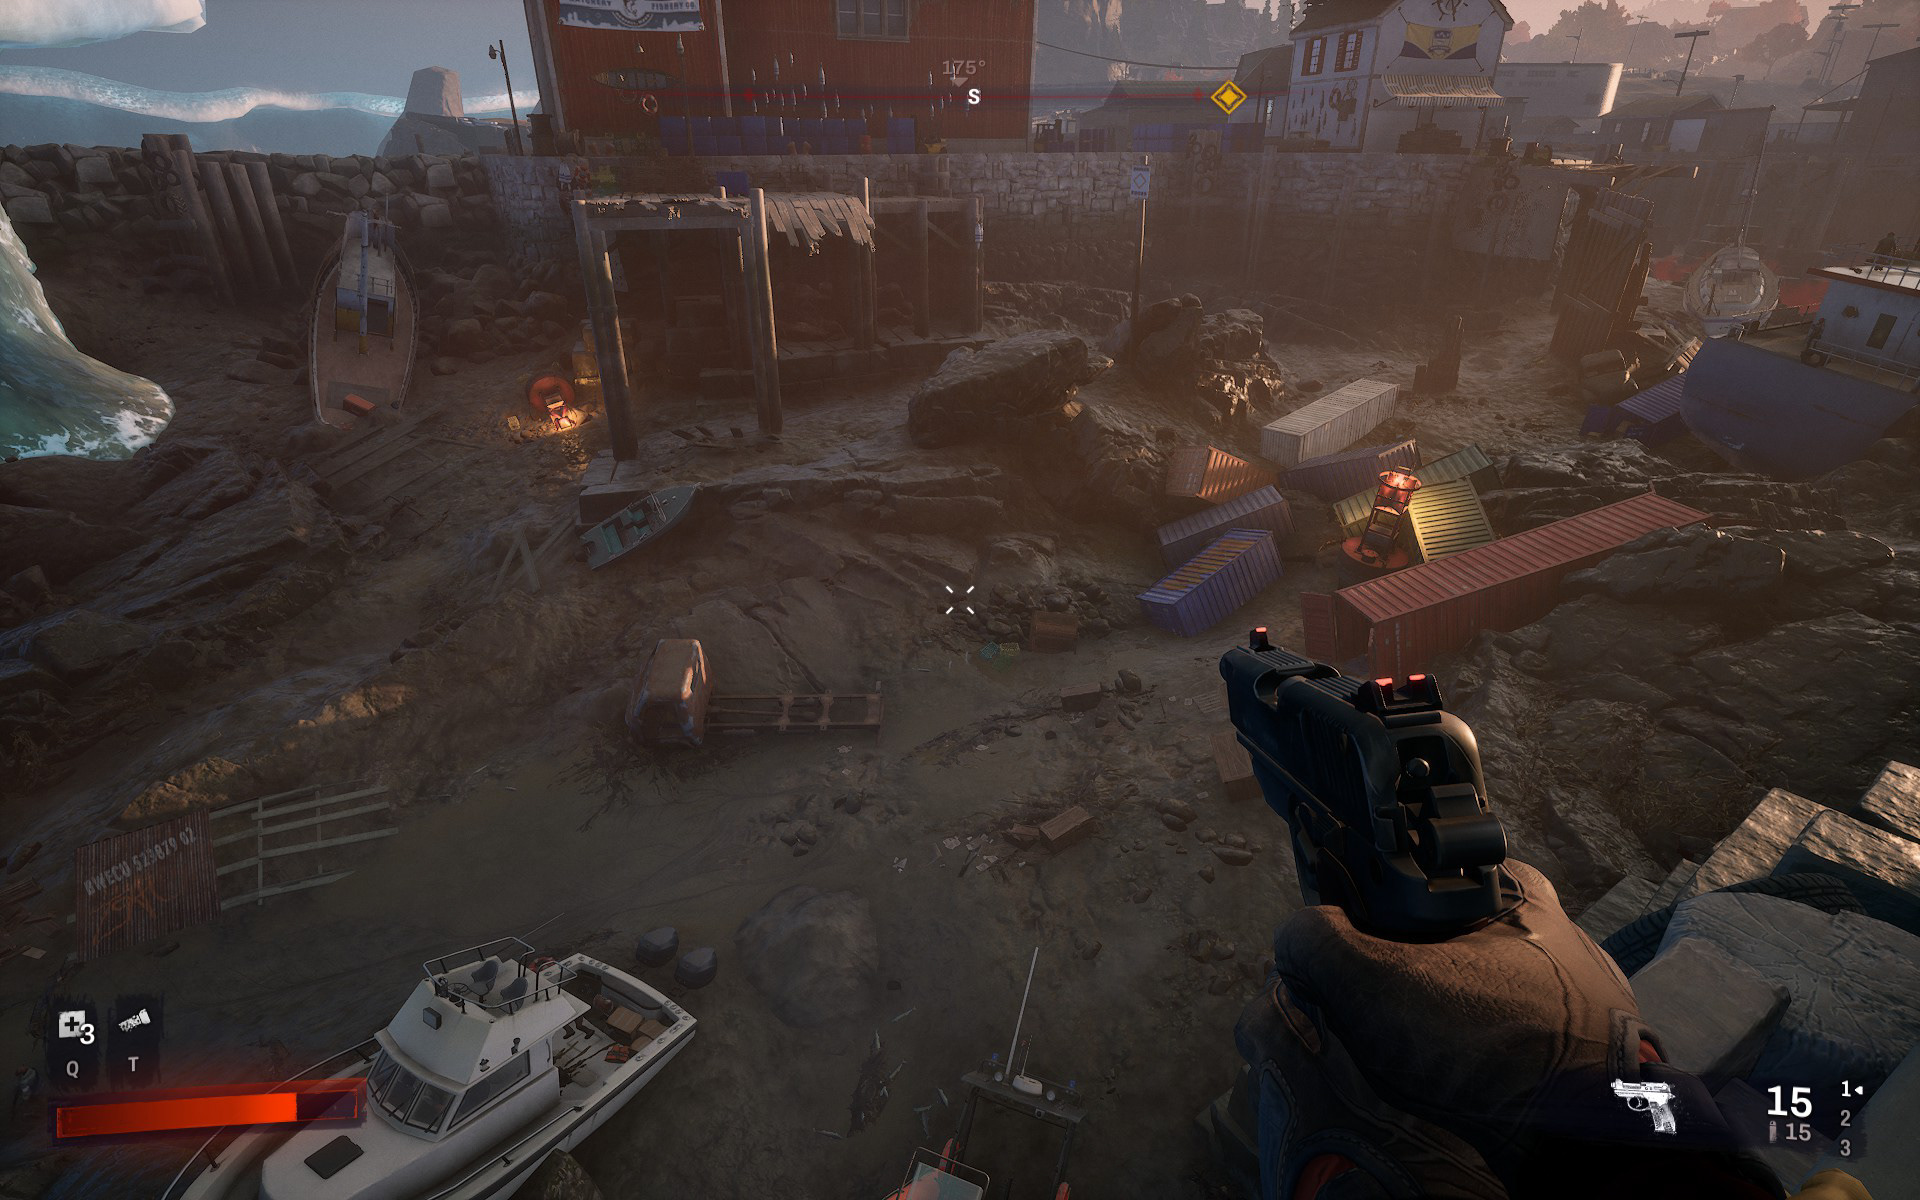
Landscape blending, waterline and landscape decals.
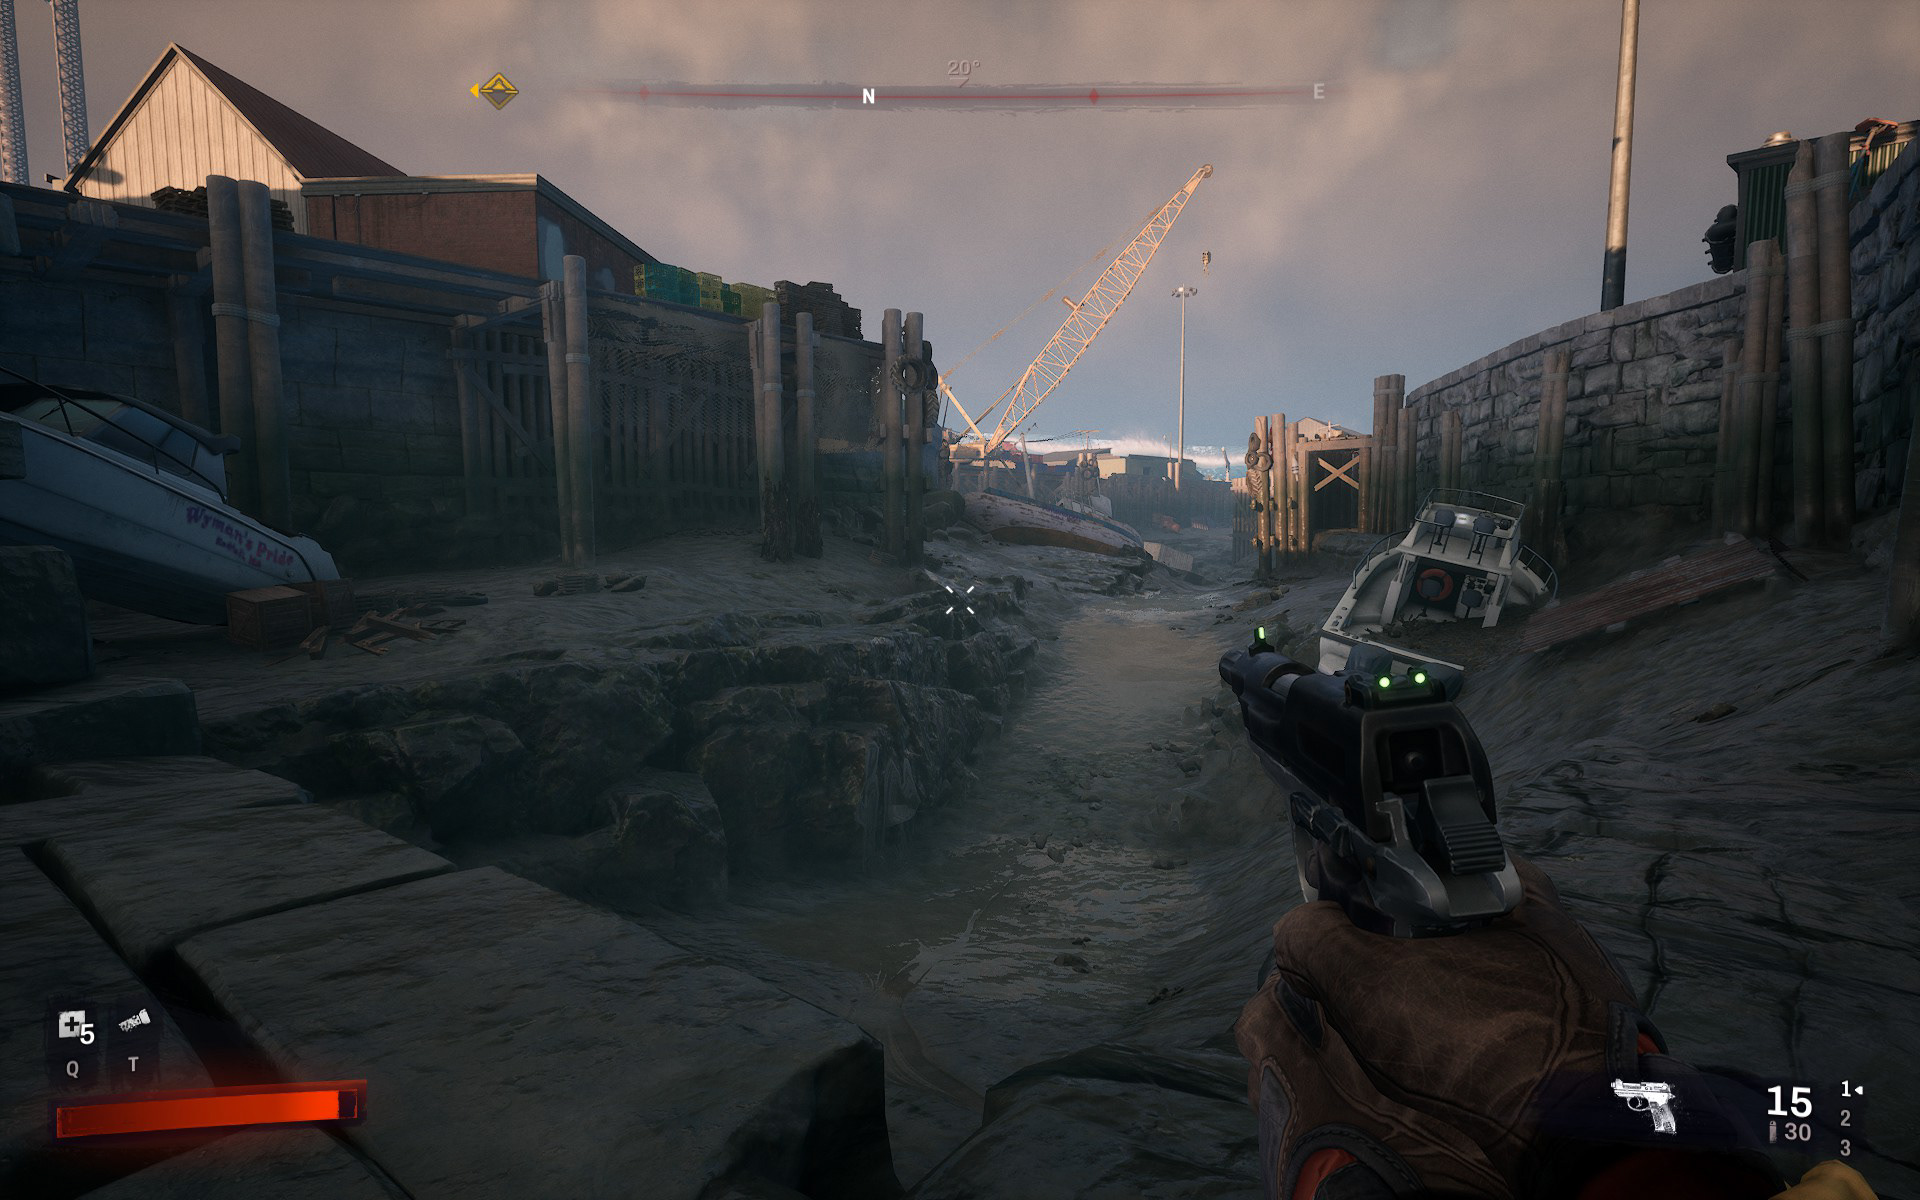
Landscape blending, waterline.
Level LOD Baker
Most of Unreal's auto generated level LODs were very dense meshes with quite bad texture map usage - lacking in quality and performance.
This was mostly due to kit pieces not being watertight, which other LOD generation algorithms also struggle with. For many of the more important level sections, the art team hand-built low-poly models manually and then used a custom Houdini baker to generate textures.
The Houdini baker would take JSON input files containing material, texture, and actor data, then rebuild the master materials for use in a custom VEX-based low-poly to high-poly baker.
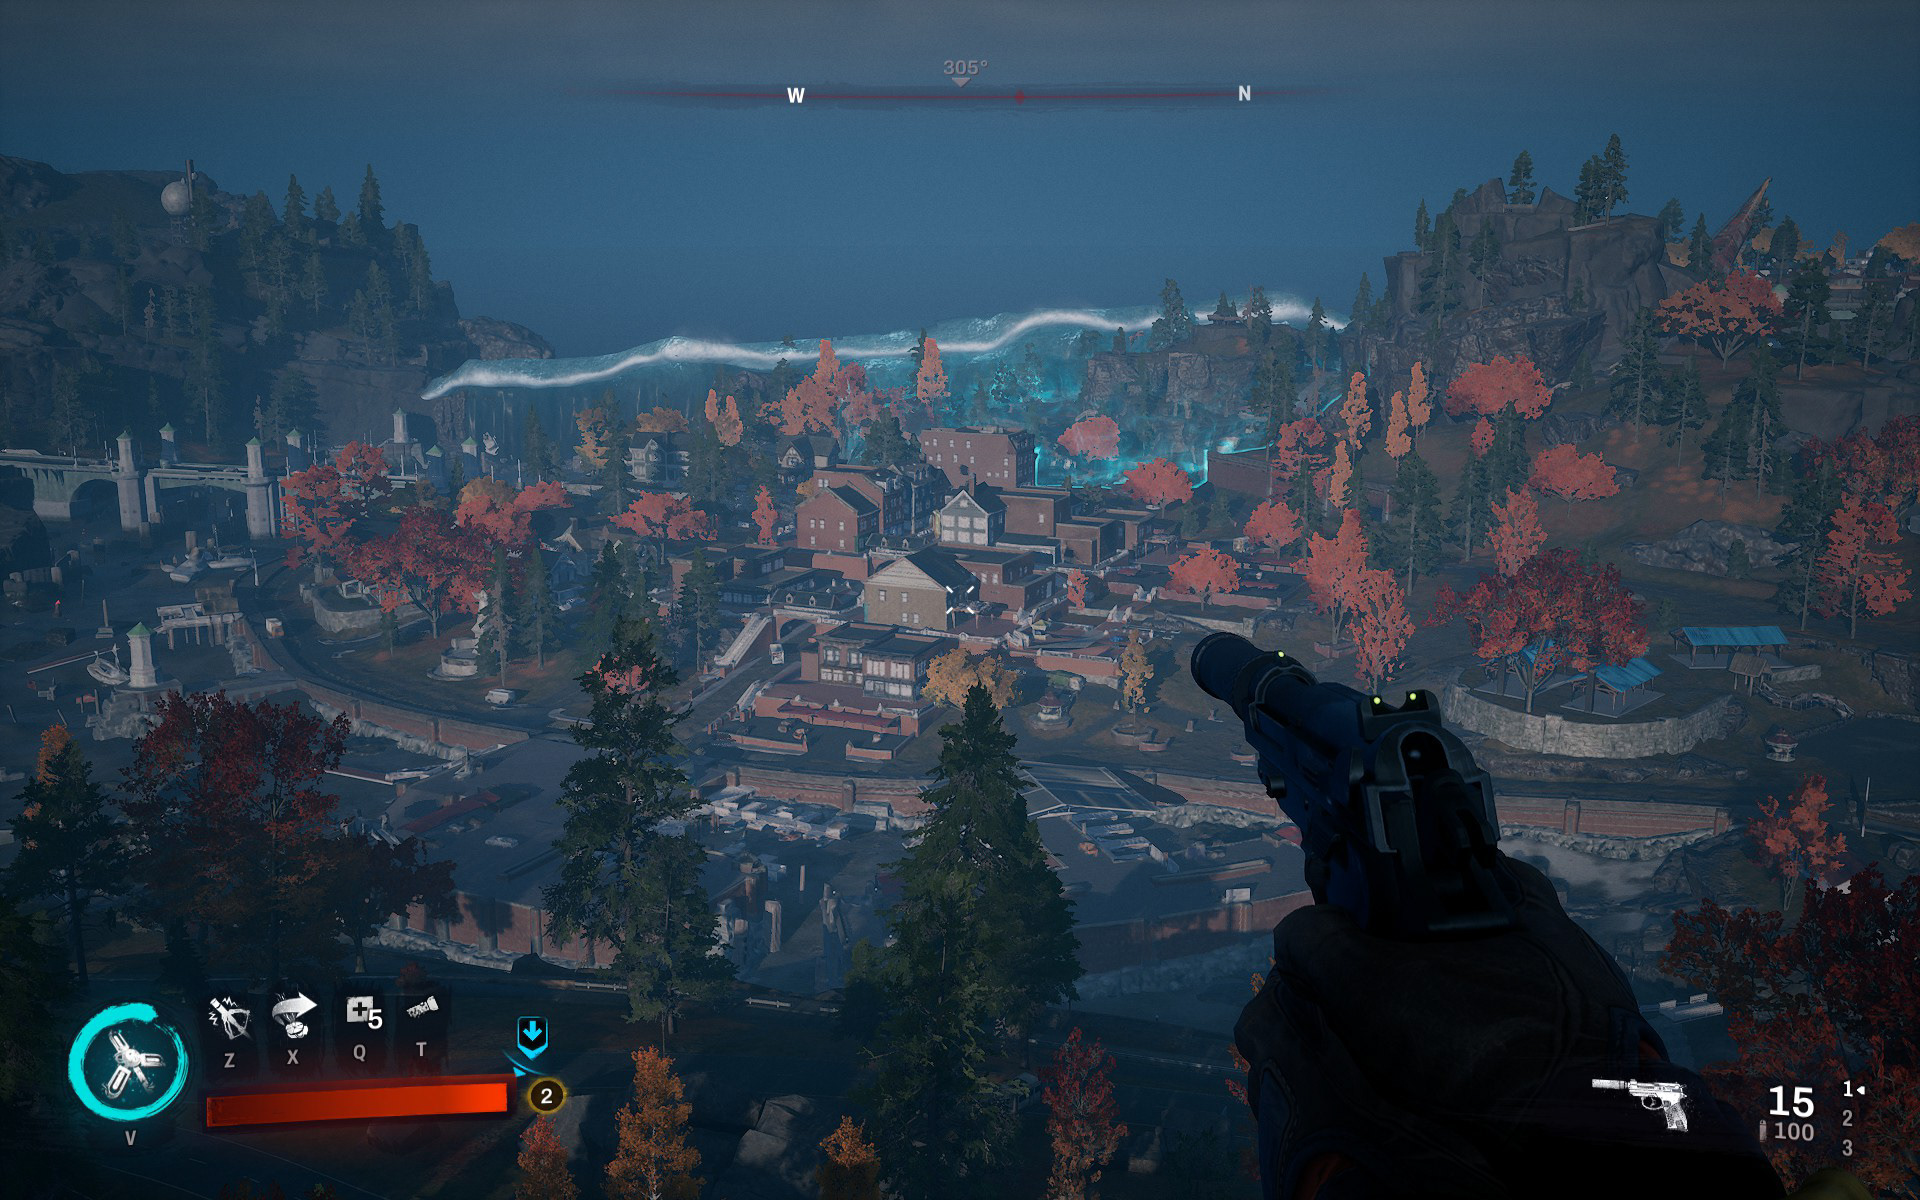
Zoomed in view of the unloaded level.
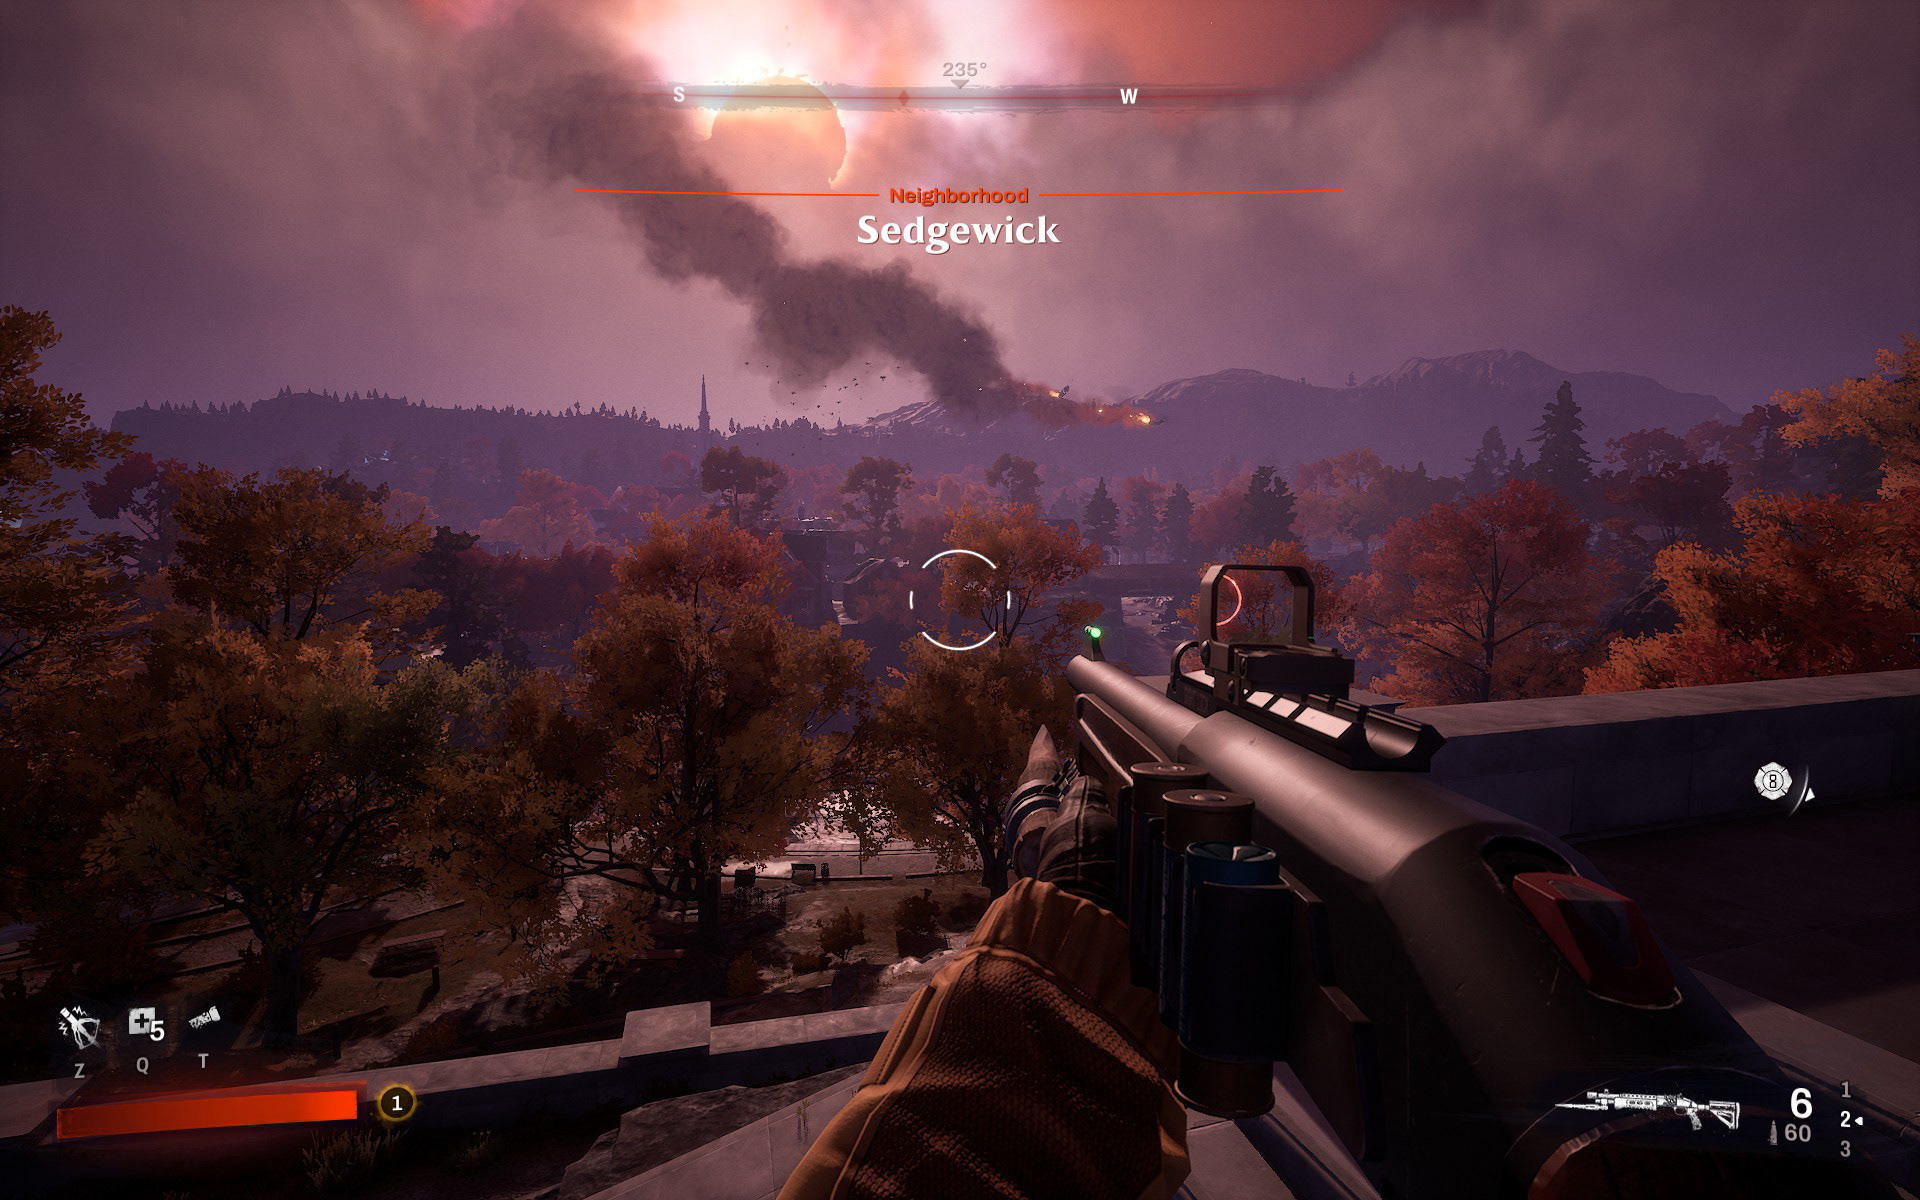
Vista with level LODs in the distance.
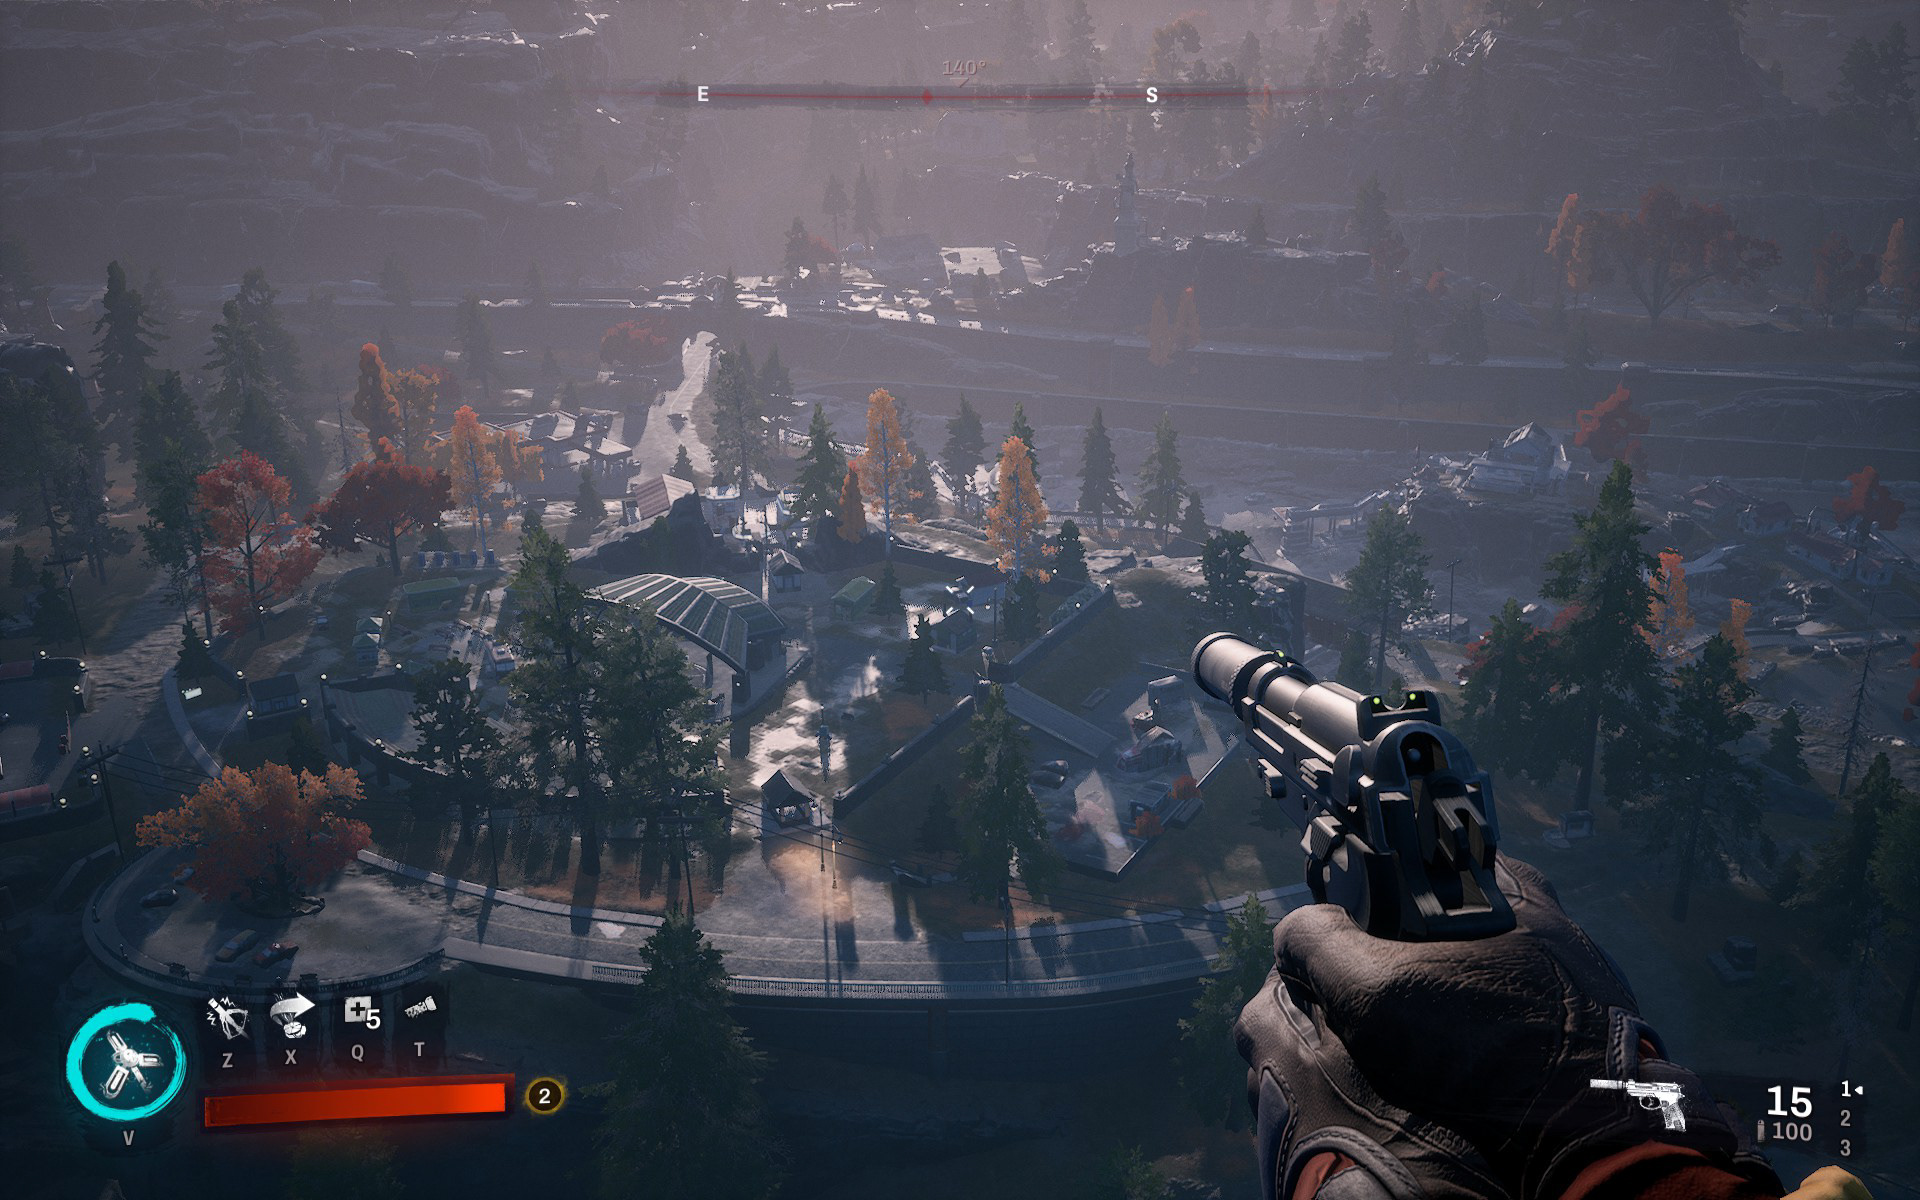
Zoomed in view of the unloaded level.
Tree Imposter Baking
To create better foliage imposters, a custom baker was built inside Unreal to accurately reflect material parameters and reduce overdraw. The baker generated up to 9 billboards per tree, which the imposter shader then would blend between on a single camera oriented quad.
The quad could also be clipped automatically to further reduce overdraw based on the generated textures.
Speed Tree generated models in the foreground. Baked imposters on camera facing quads start midway through the frame.
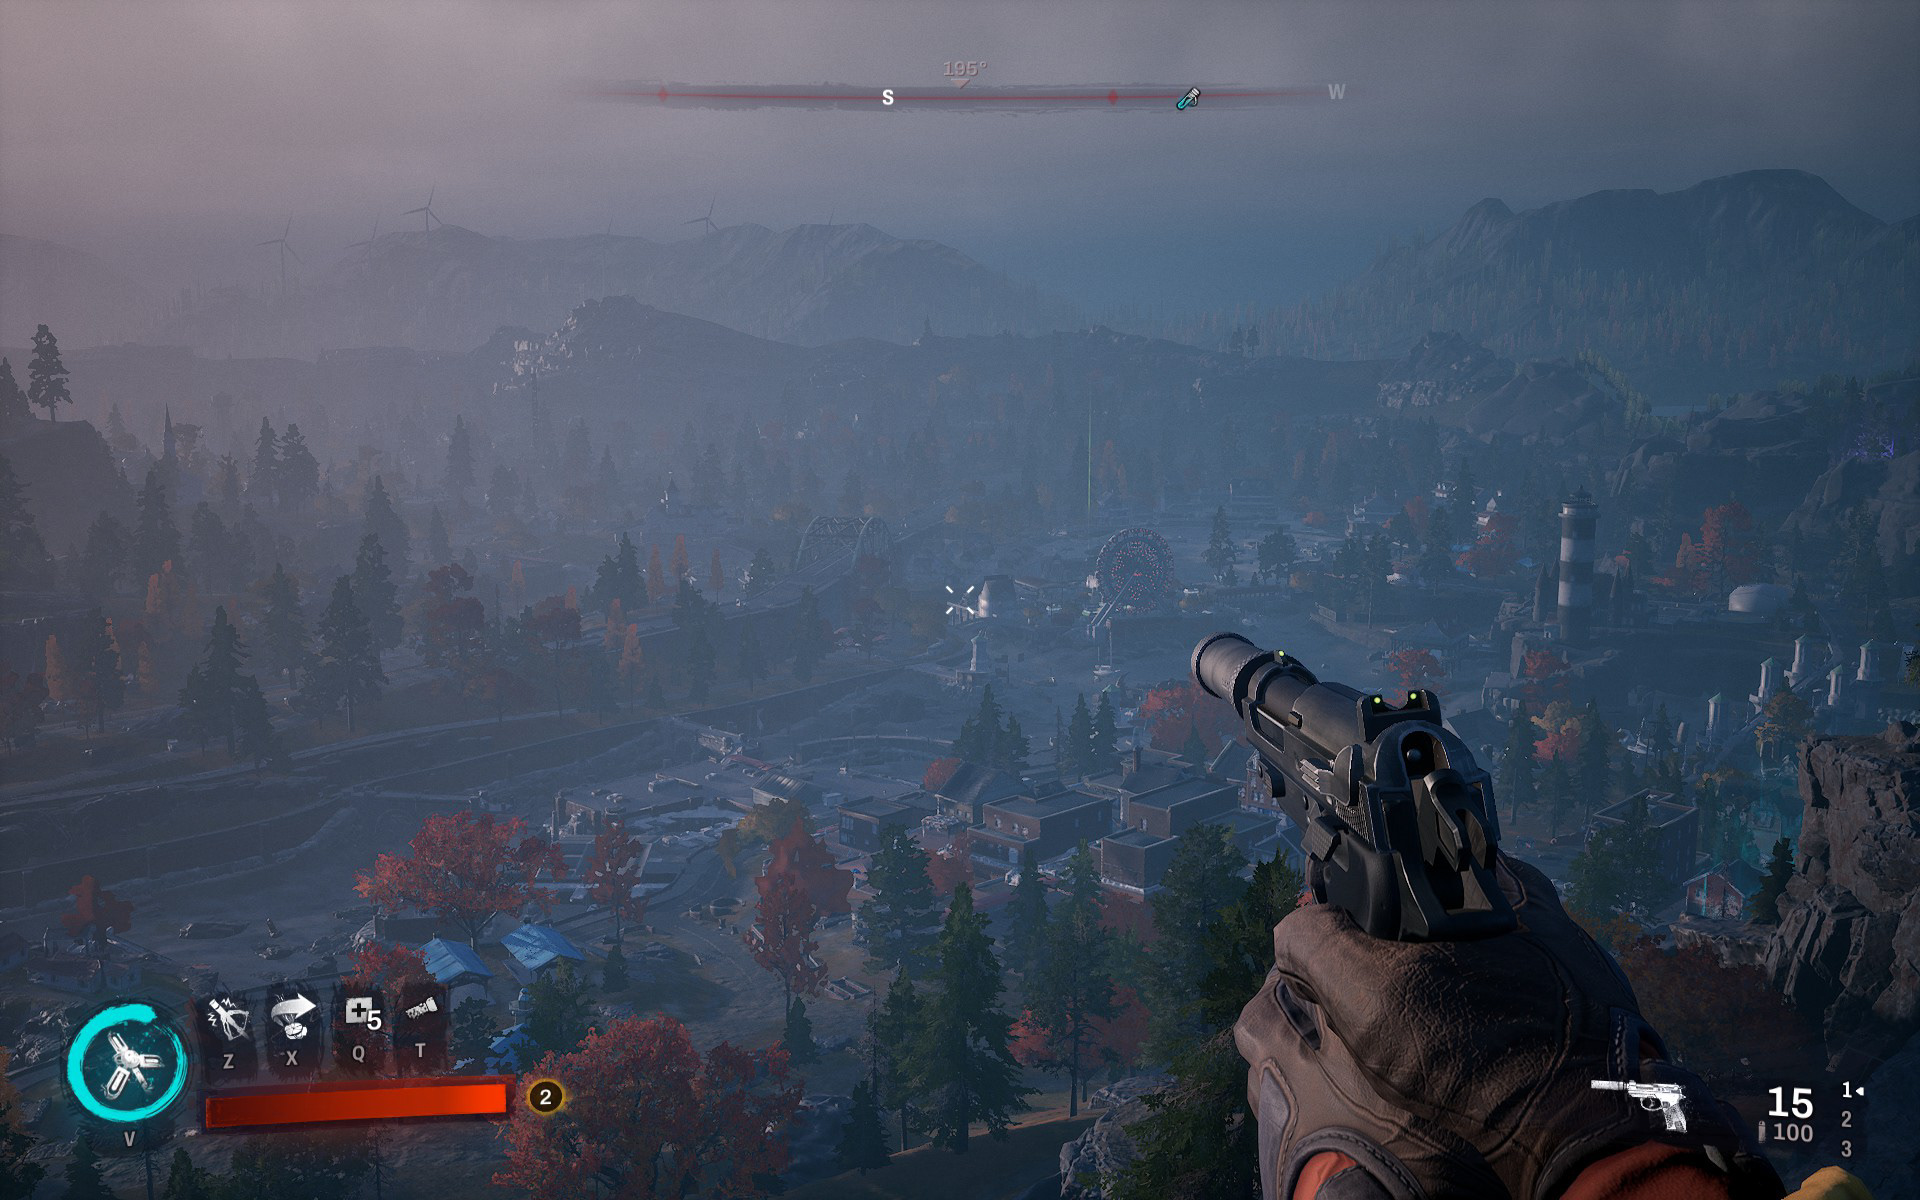
Distance Lights
Only 9 level tiles around the player were streamed in at any given moment. As stand-ins for far away light sources a nightly build job took every light position in the world and stored light position, light color and intensity / radius in a texture (two pixels per light source).
A Niagara System then used this texture to spawn a camera facing billboard for each light source to represent lighting in unloaded levels.
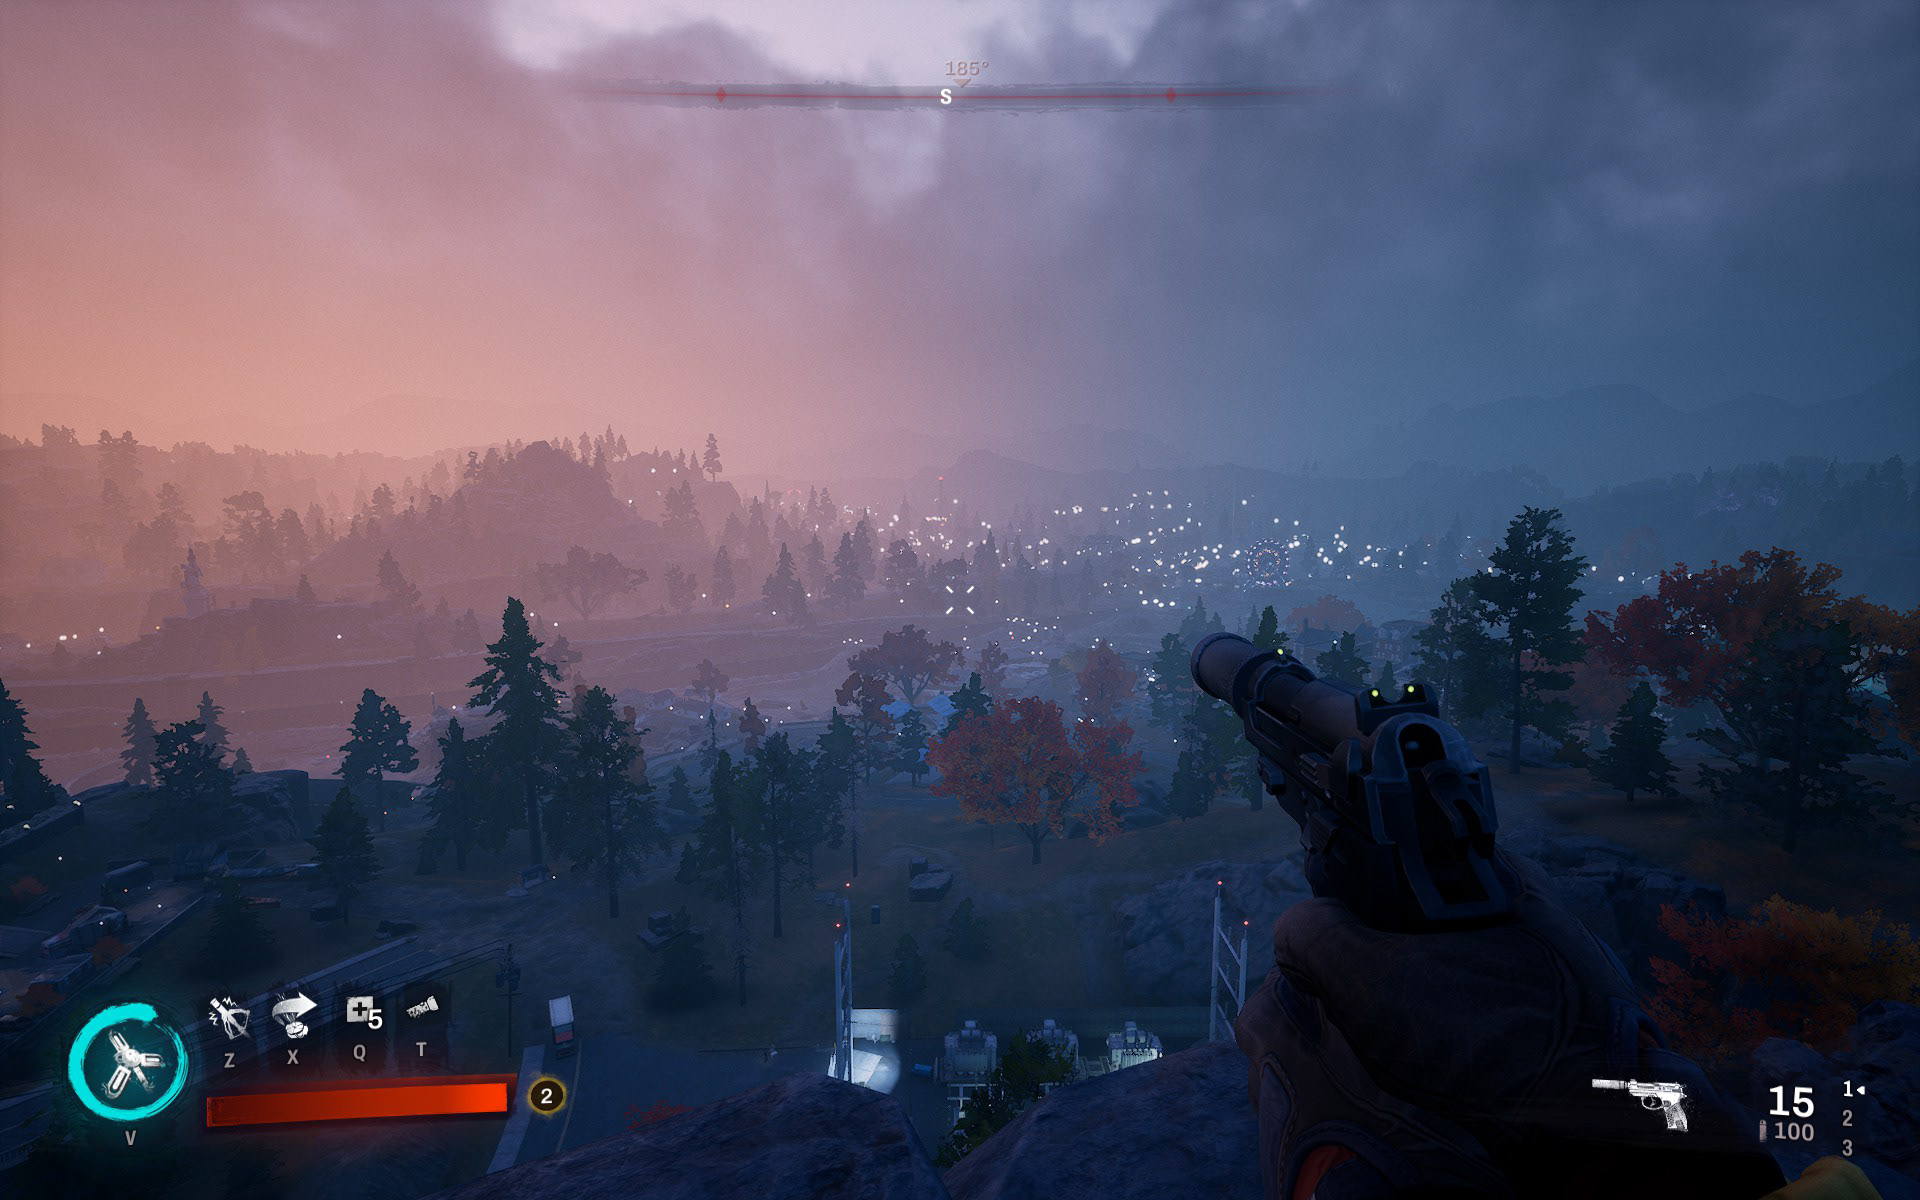
Light billboards scaled by camera distance and fully collapsed once they reach the level streaming distance.
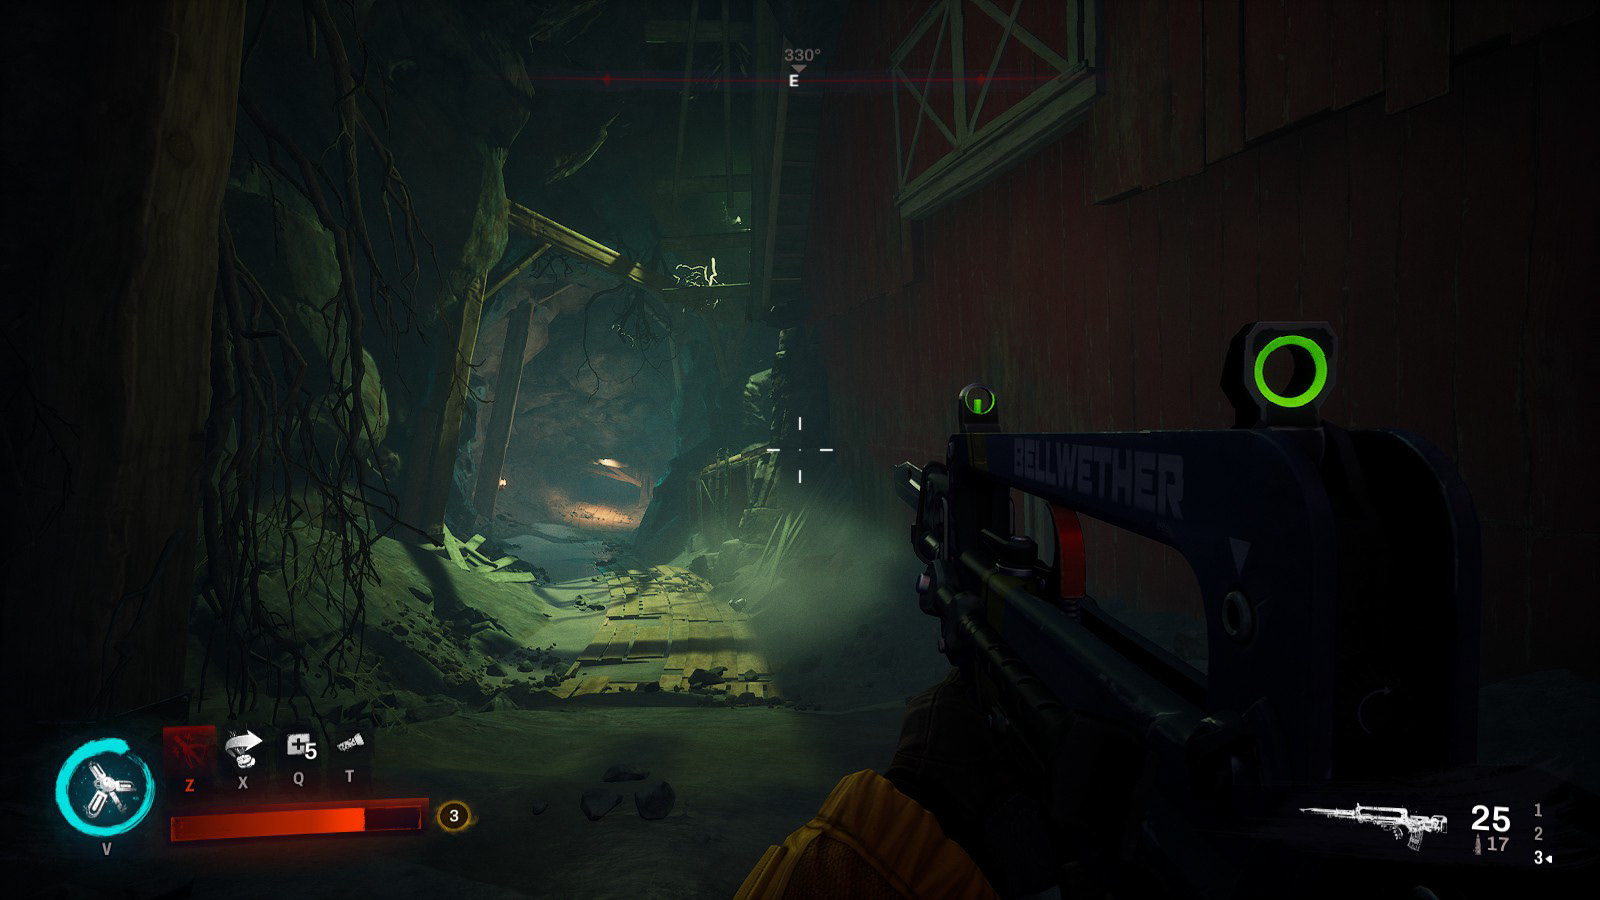
Hazard Volumes
For hazards placements a spline based volume was used. It generated a spawn texture containing a mask and a heightmap. The texture was then read by both the volumetric fog system and a Niagara particle system, which used the heightmap and mask to generate particle spawn positions.
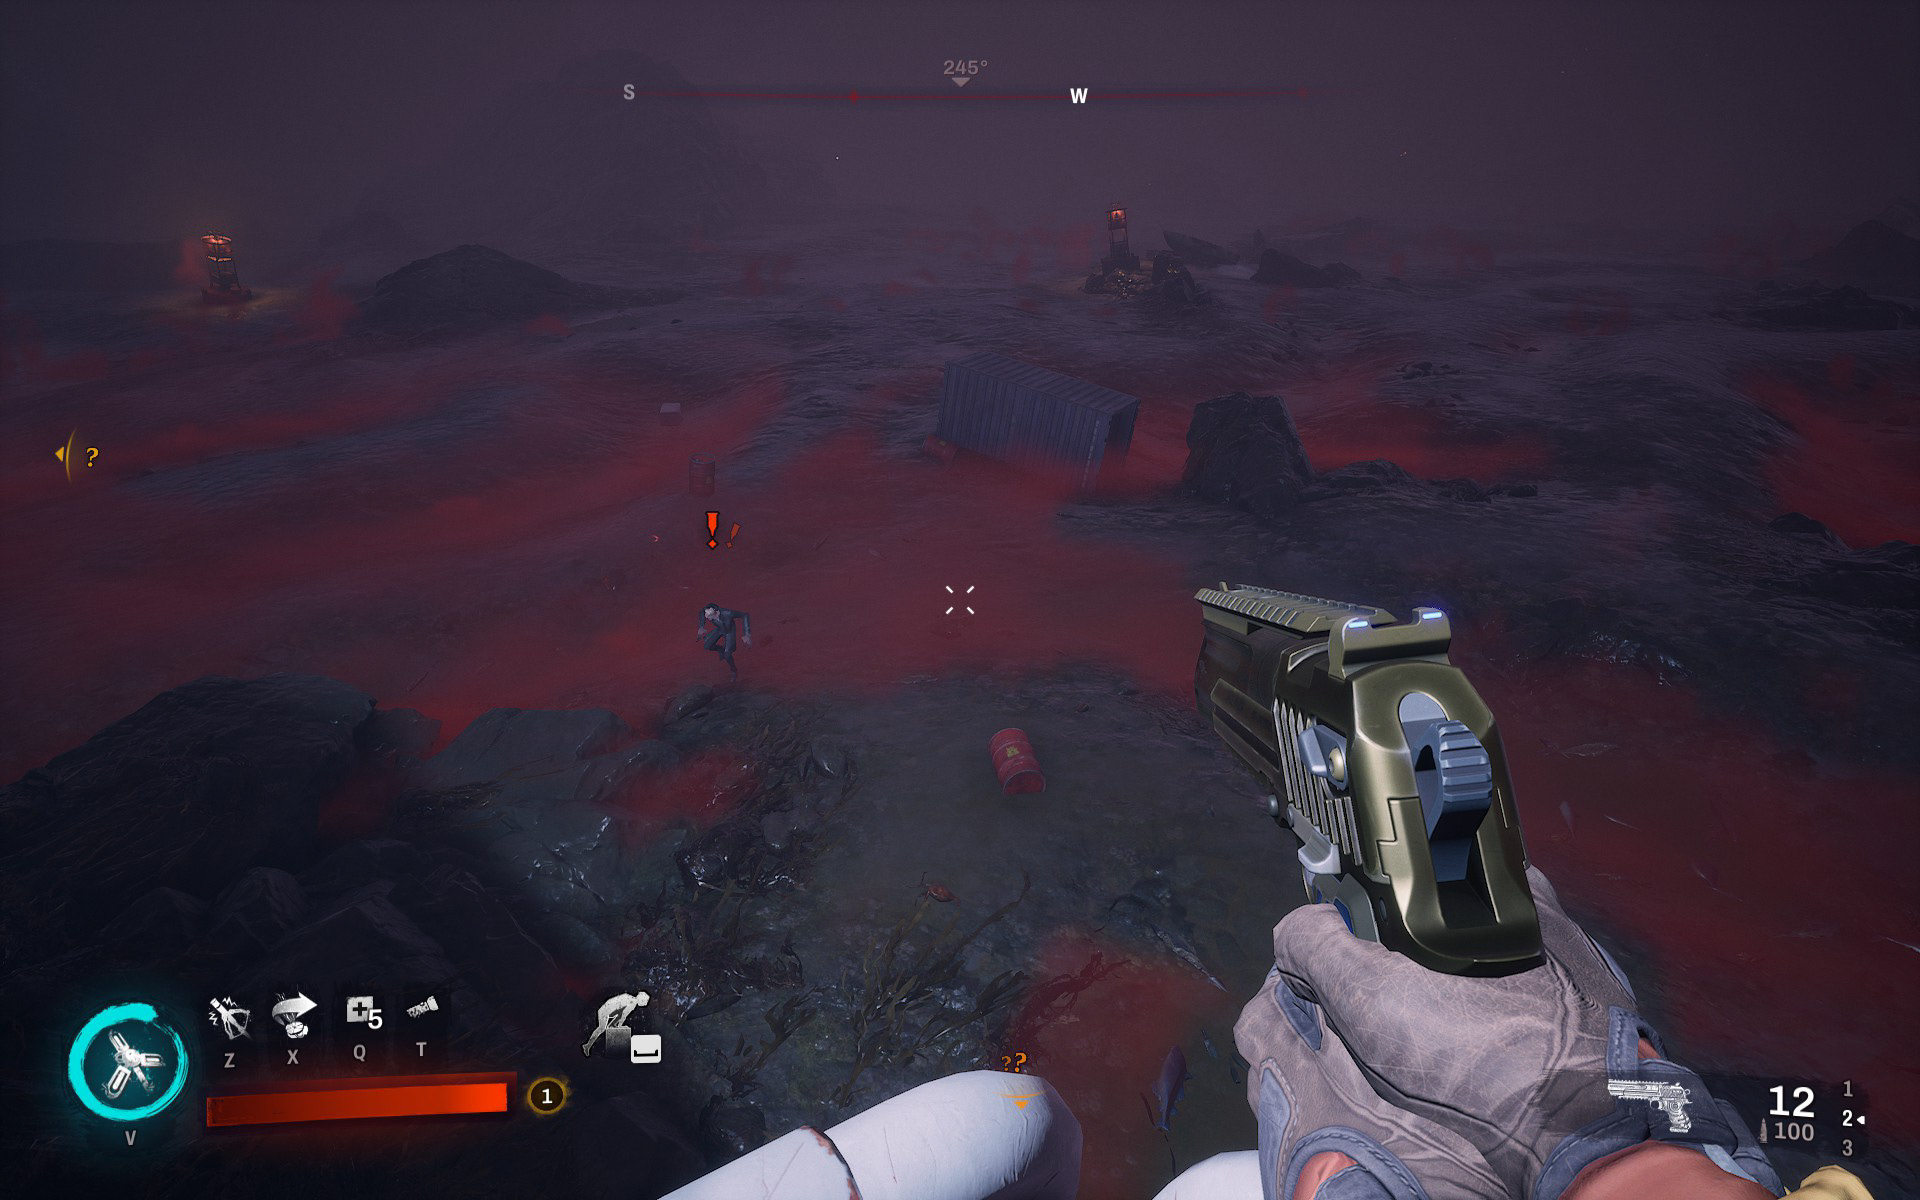
A large deathmist volume is placed in the world and an additional height cap was added to have it only be generated in the deeper dips of the terrain.
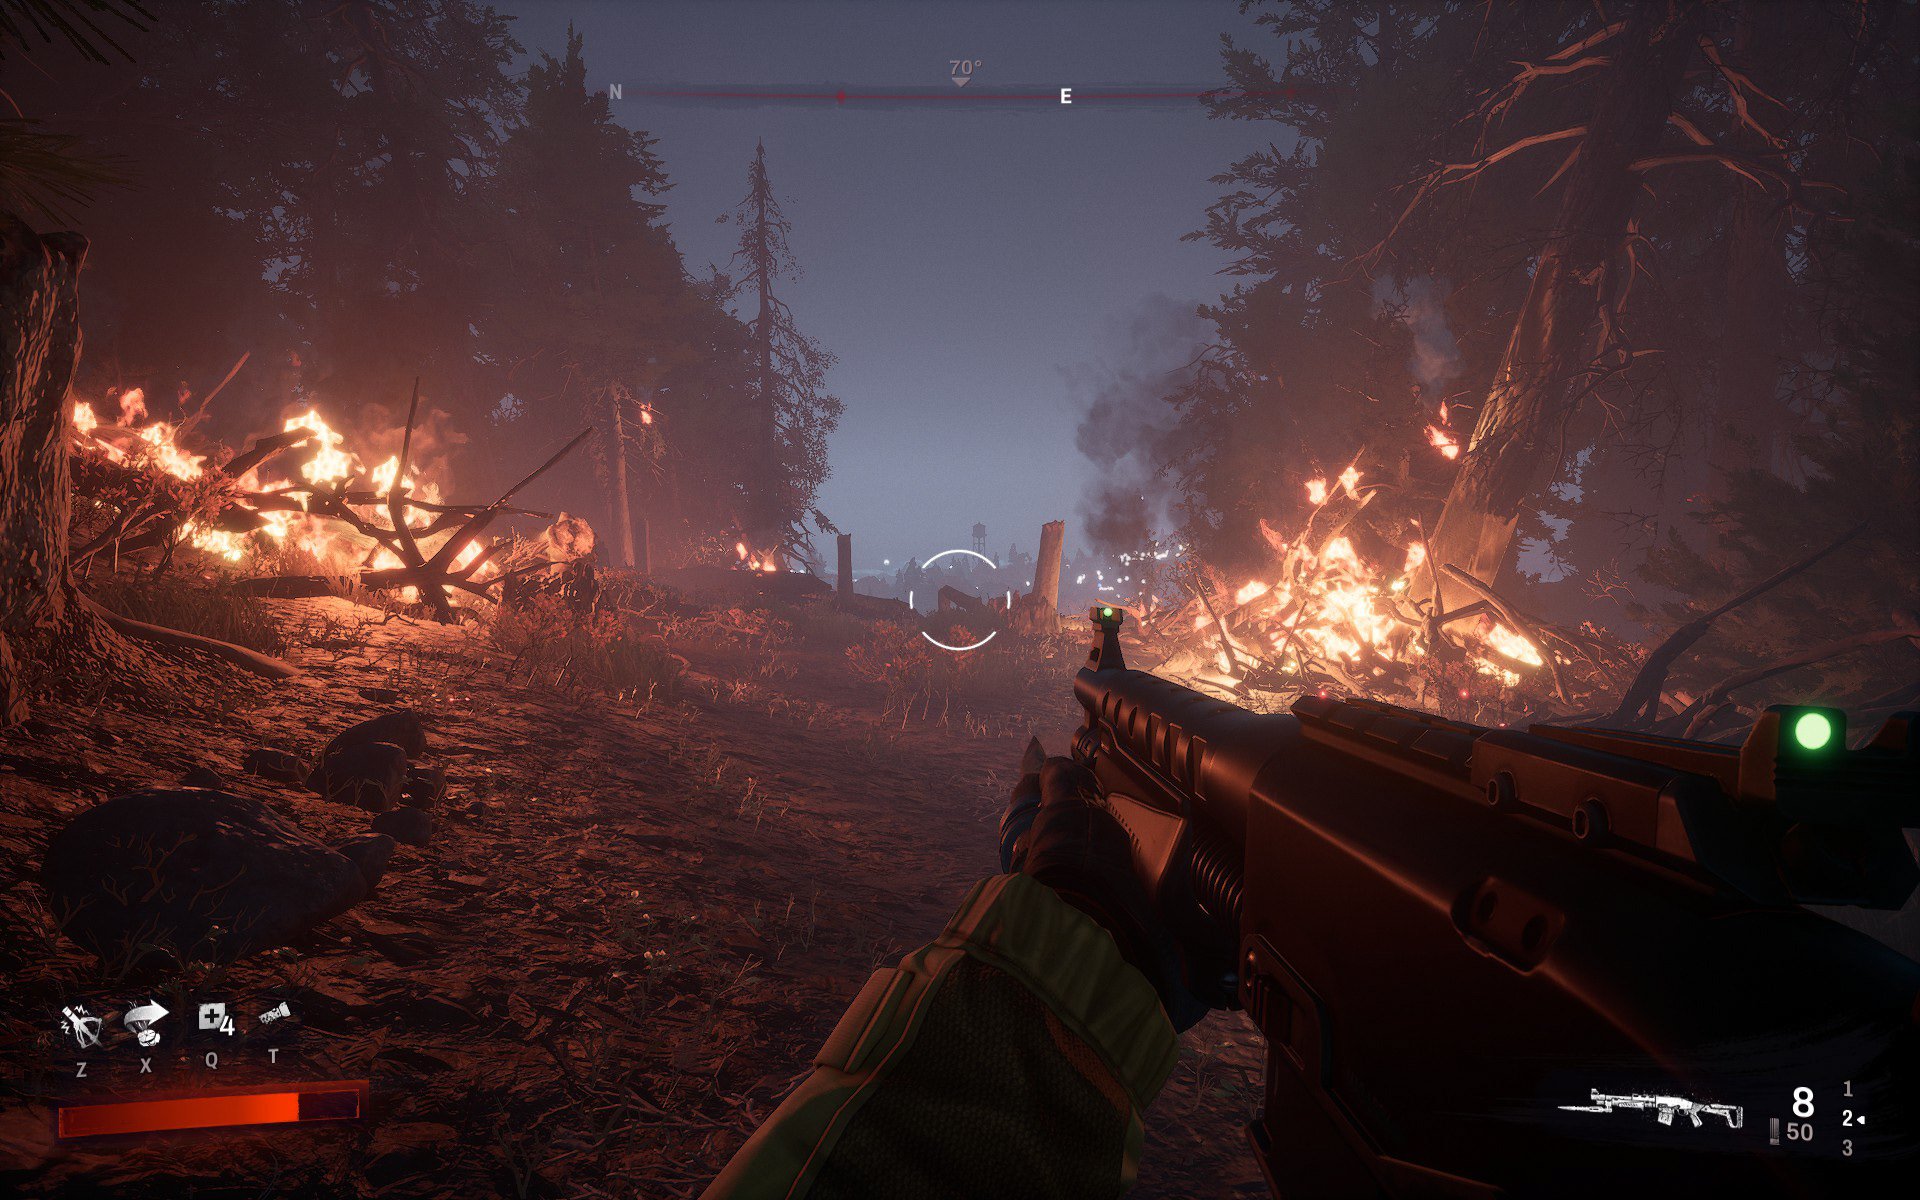
The same system which was used for deathmist was also used to place fire hazards in the game.
Outlines
We created a simple outline system which blurred the stencil pass in x and y and then subtracted the unblurred stencil from it.
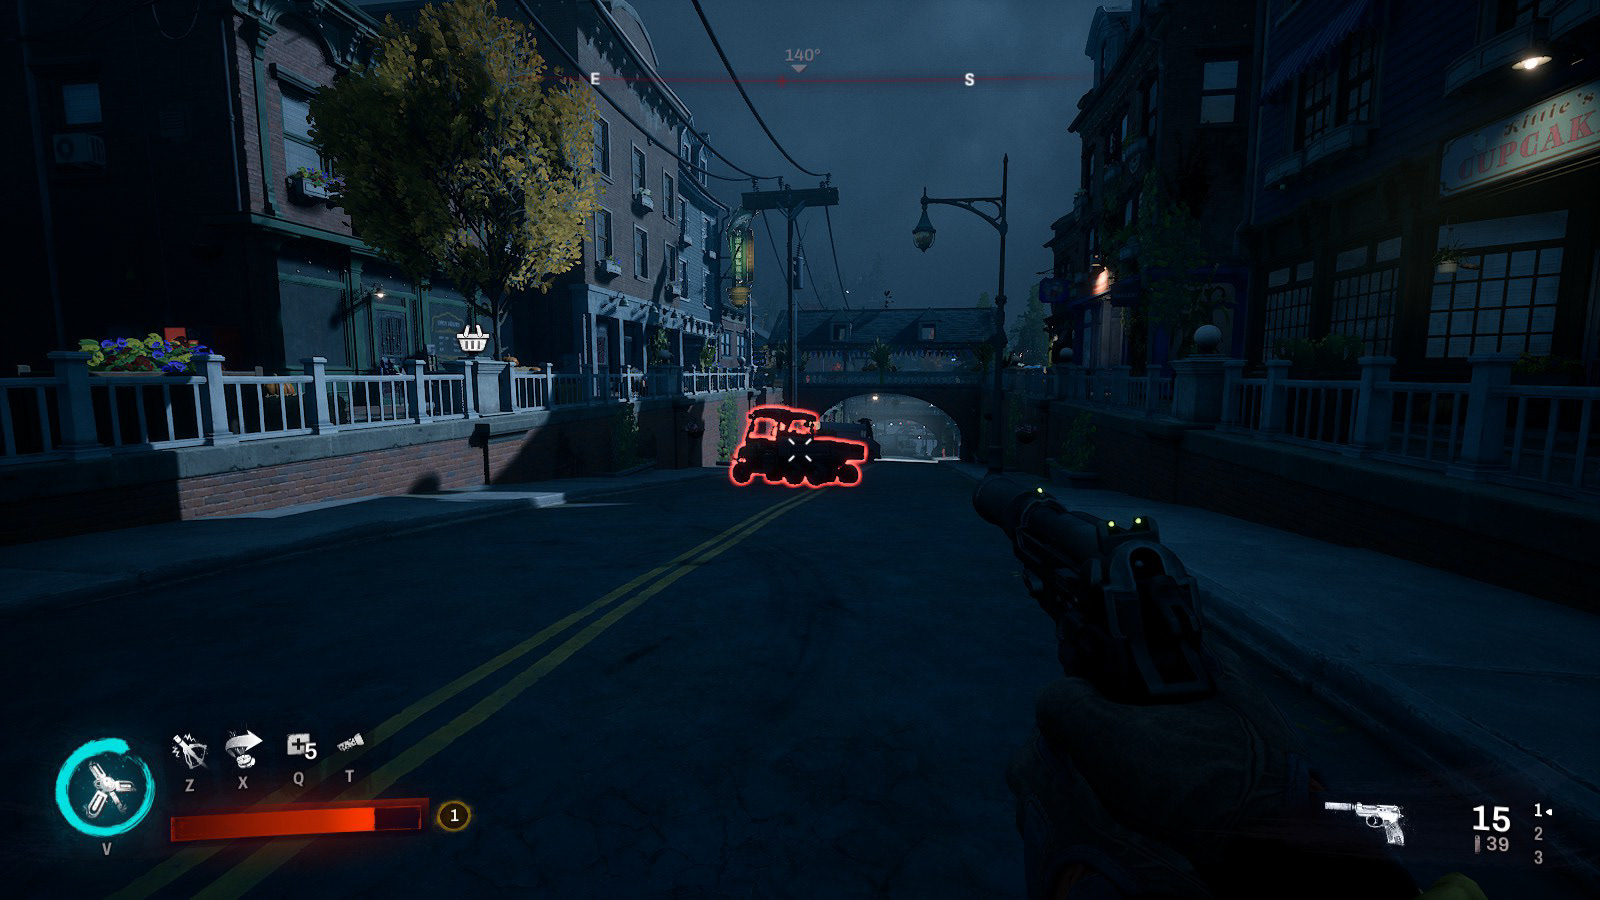
Outline on exploding hazard.